How to Create a Mesh#
Learn how to provision a private mesh network for your organisation and enrol your first device.
Emma, a developer at ACME Corp, wants her team's laptops to reach internal services — a Vault, staging APIs, databases — without VPN appliances or public endpoints. A Mesh gives every enrolled device an encrypted, peer-to-peer network governed by her organisation's single sign-on.
Prerequisites#
- A Project already created
- The
mesh.network.cloud.stakater.comAPI available kubectlconfigured with your project kubeconfig- The NetBird client on any device you want to enrol
Your organisation may already include a Mesh by default — check with your organisation administrator before creating one.
What Gets Created#
When you create a Mesh claim, the platform provisions:
- A private mesh network for your organisation — management, signalling, and relay infrastructure
- A web dashboard for managing peers, groups, and access policies, behind your organisation's single sign-on
- Automatic publishing of platform services (such as a Vault) to Mesh peers, with publicly-trusted TLS
In the Console#
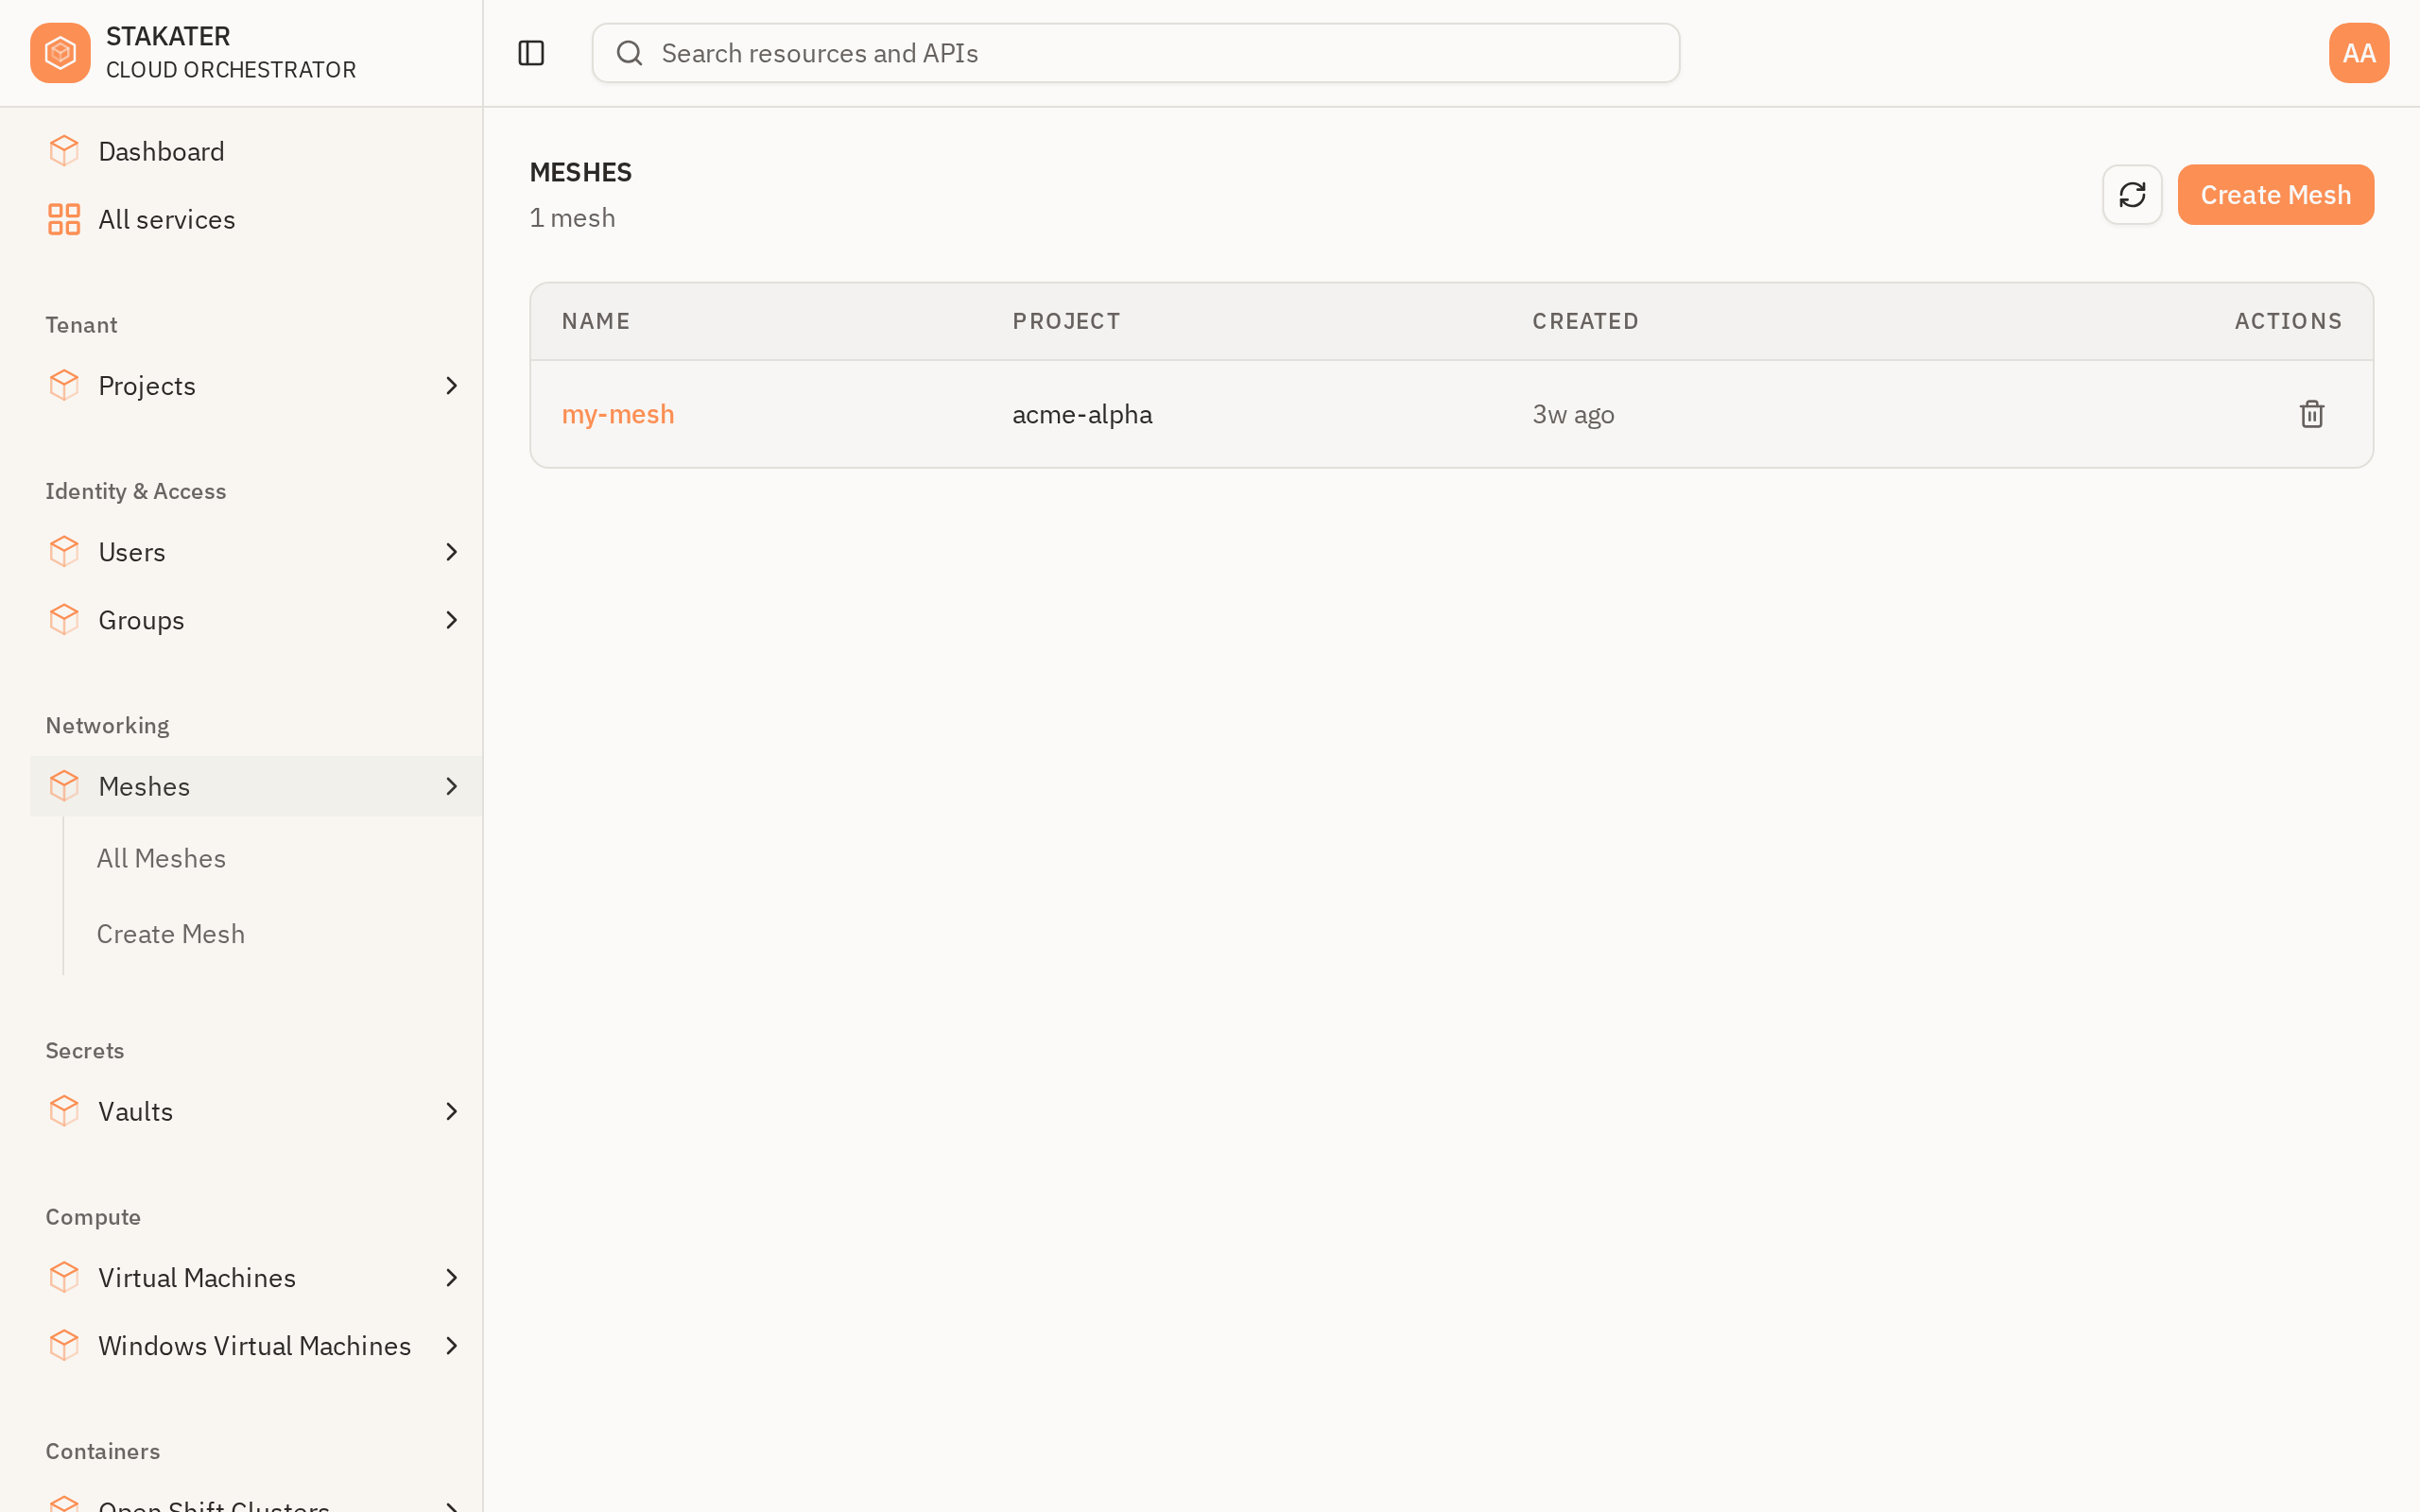
Meshes are under Networking in the sidebar. Check the list before you create anything — your organisation may already have one:
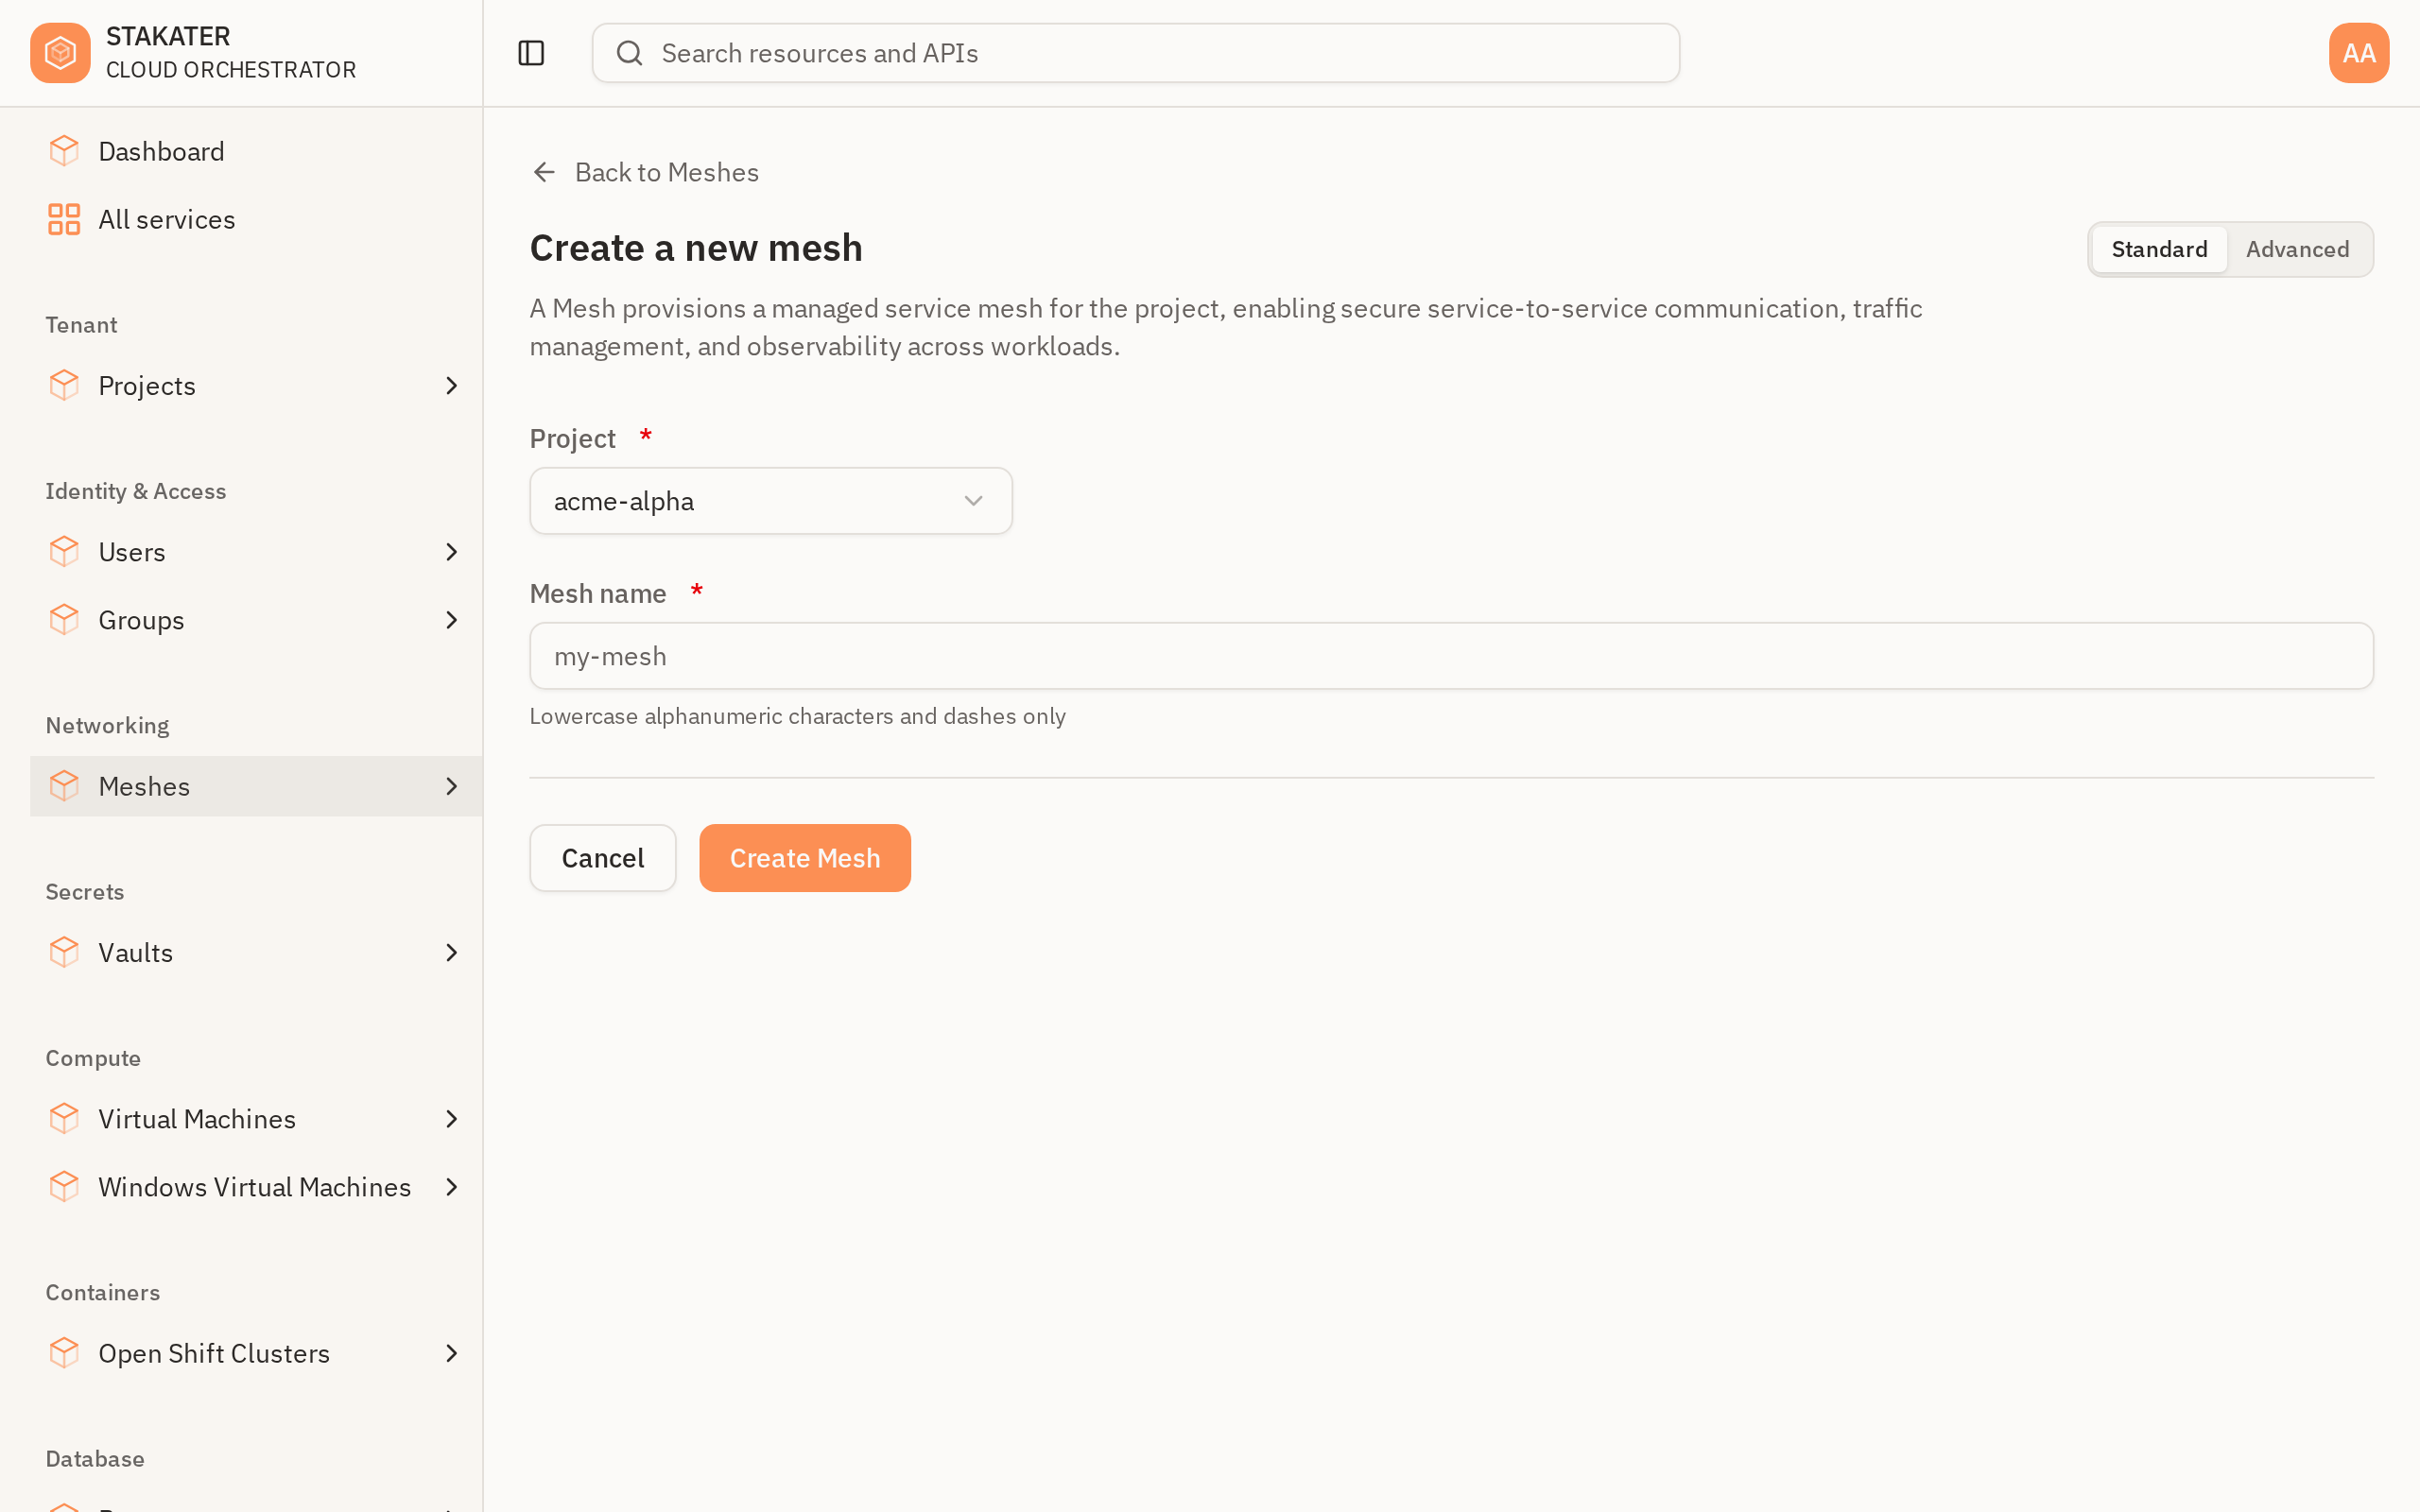
The create form is as short as the claim, because a Mesh has no user-tunable fields. A name is all it asks for:
Step 1: Define a Mesh Claim#
Create a file named mesh.yaml:
apiVersion: network.cloud.stakater.com/v1
kind: Mesh
metadata:
  name: my-mesh
spec:
  parameters: {}
That's the entire claim — the Mesh takes no user-tunable fields.
Step 2: Apply the Claim#
kubectl apply -f mesh.yaml
Step 3: Verify the Mesh#
kubectl get mesh my-mesh
Wait for READY: True.
Step 4: Open the Dashboard#
Open the Mesh in the console. Its detail page shows the Dashboard URL, and next to it the management URL you will need in Step 5:
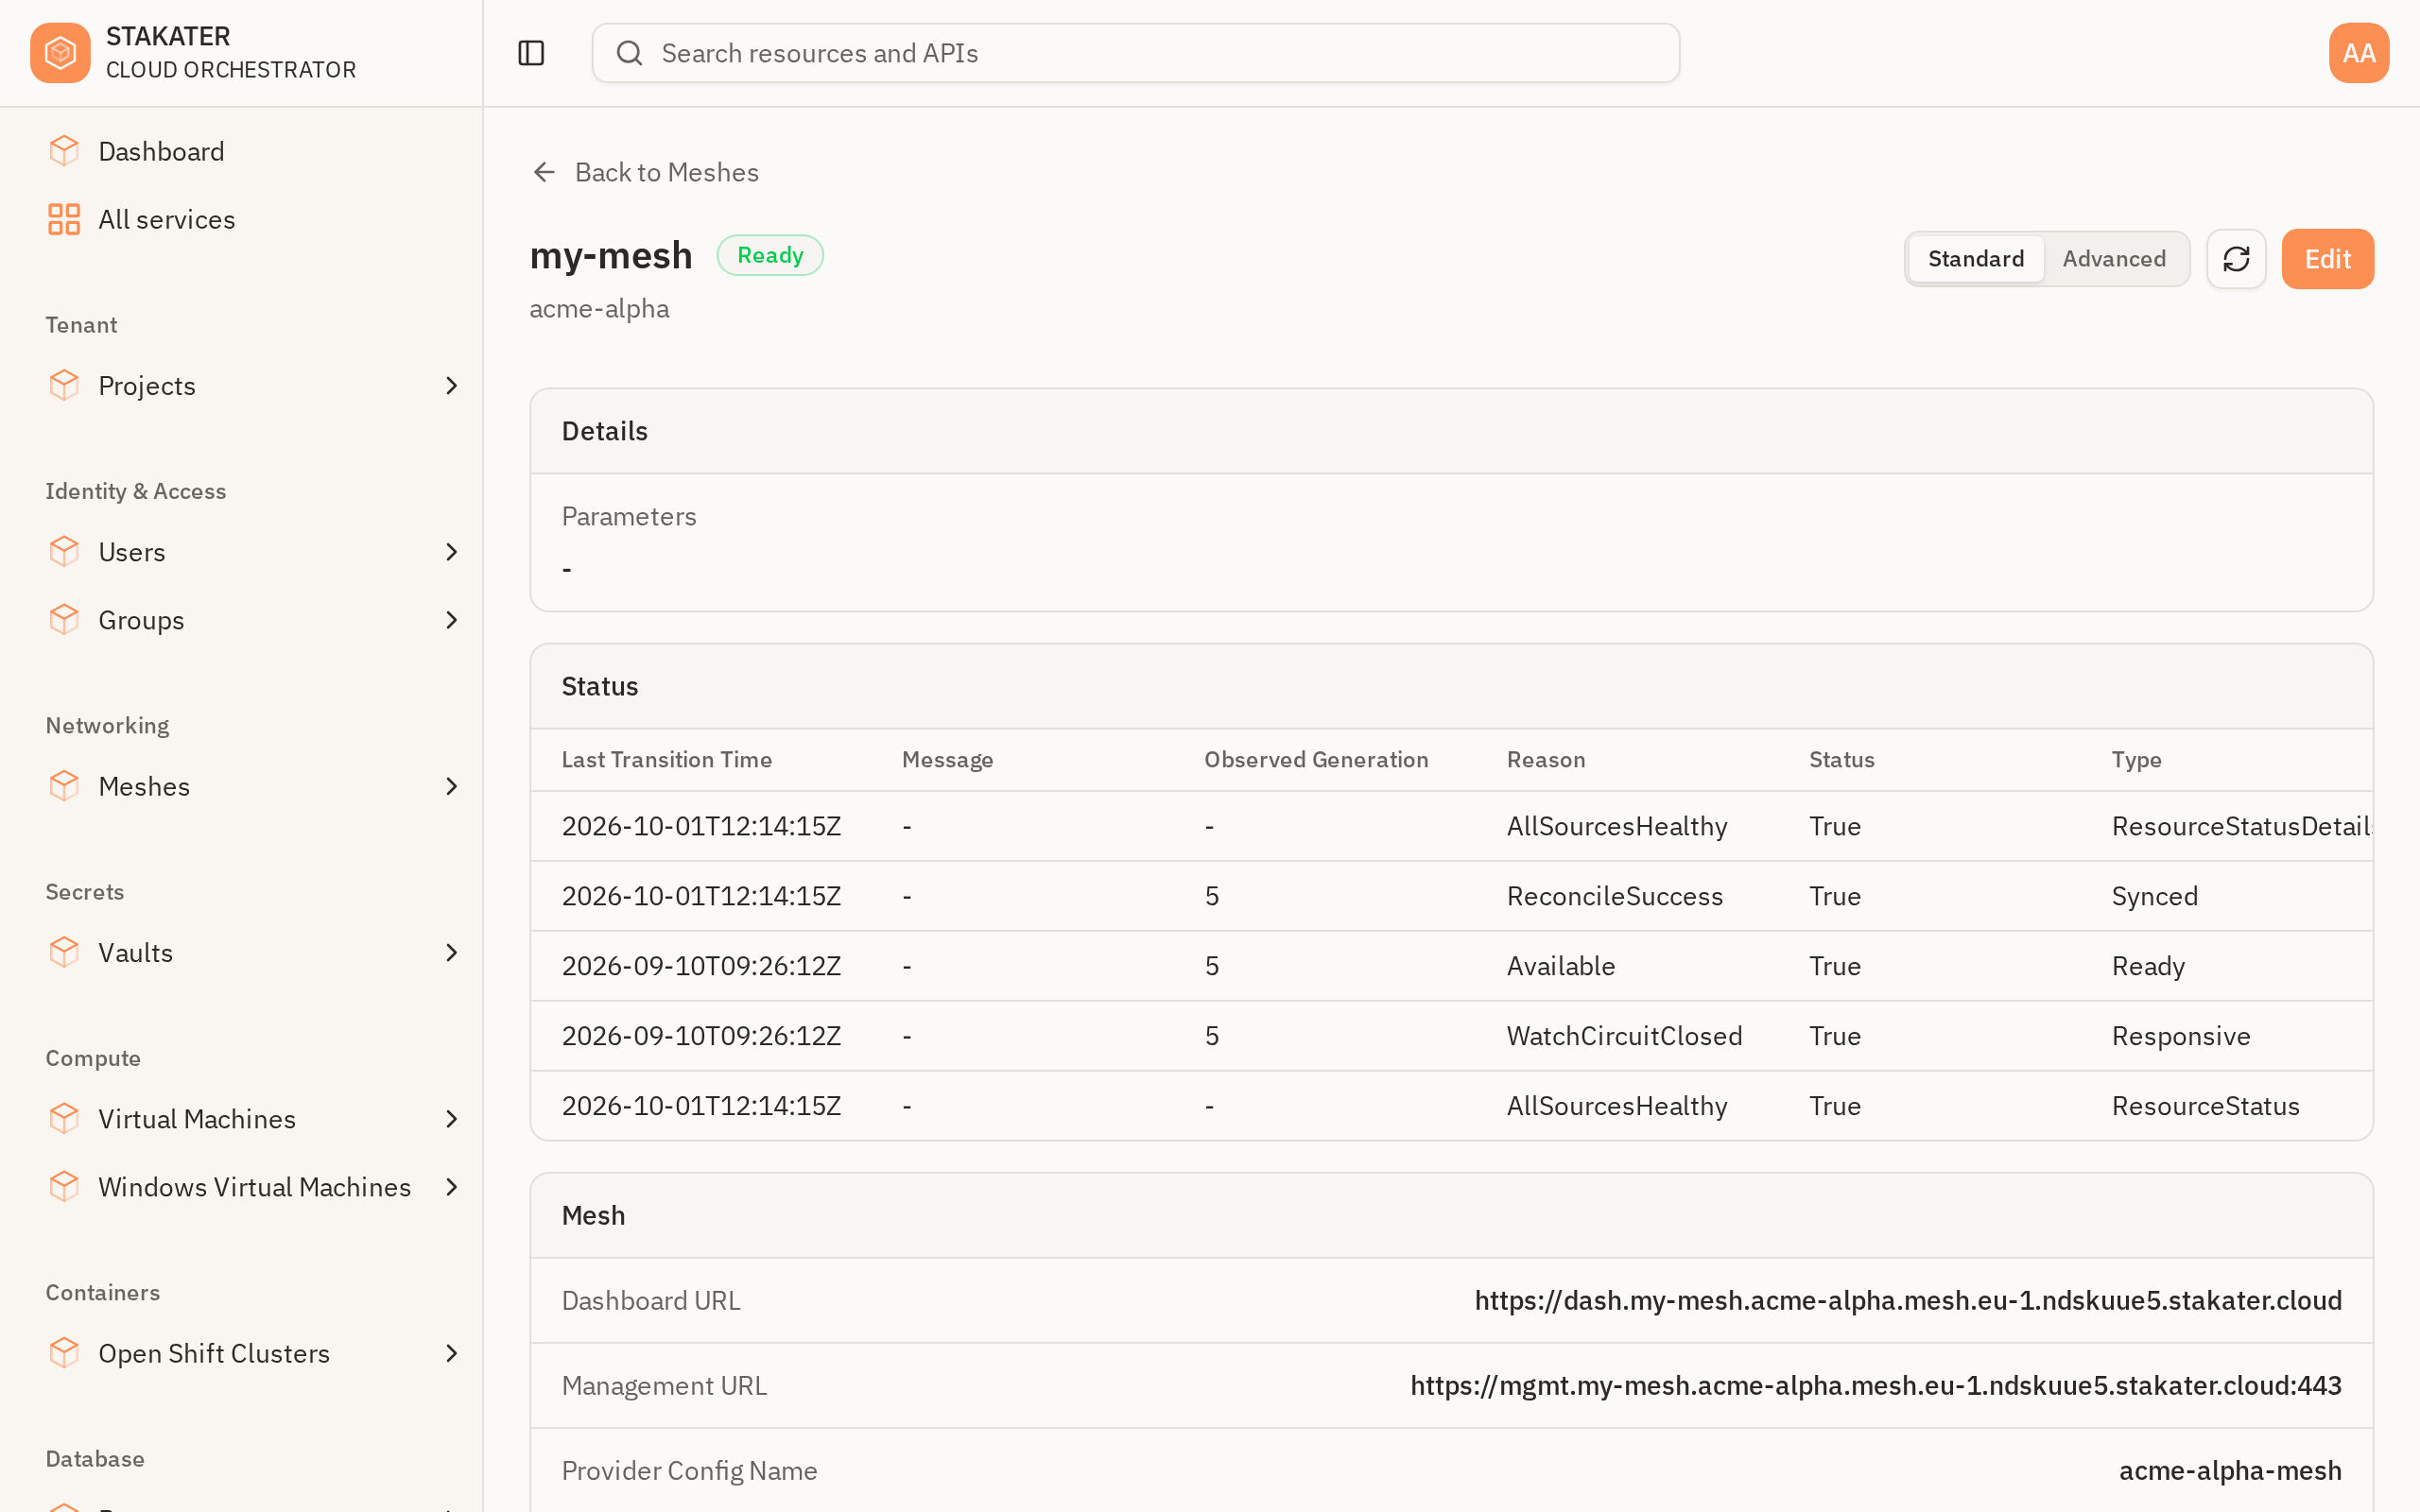
Follow the Dashboard URL and sign in with your organisation account. From here you manage peers, define groups, and write access policies — or manage groups and policies declaratively with MeshGroup / MeshPolicy claims.
Step 5: Enrol a Device#
Install the NetBird client on a laptop. In the dashboard, open Add Peer and copy the enrolment command it shows — it already includes your organisation's management URL:
netbird up --management-url=<your organisation's management URL>
This opens a browser for single sign-on — leave the command running until the browser flow completes, and use a private window if you need to enrol as a different user than your current browser session. See One Identity Across Your Organisation for enrolment caveats and multi-account profiles. After registration the device appears in the dashboard and can be assigned to groups.
Step 6: Reach Services over the Mesh#
- Platform services are published automatically. With a Vault in your organisation, an enrolled laptop reaches it at
https://bao.<organisation>.mesh.<cluster-domain>with a publicly-trusted certificate. - Your own services can be advertised to Mesh peers with a MeshRouter.