Configure Azure AD group sync#
This page explains how to register a second Azure AD application that allows KubeStack+ to synchronize your Azure AD groups. Only users in synchronized groups are imported.
Complete Connect Azure AD as an identity provider before this step.
1. Register the group-sync application#
- Log in to the Azure Portal.
- Open the Azure Active Directory service.
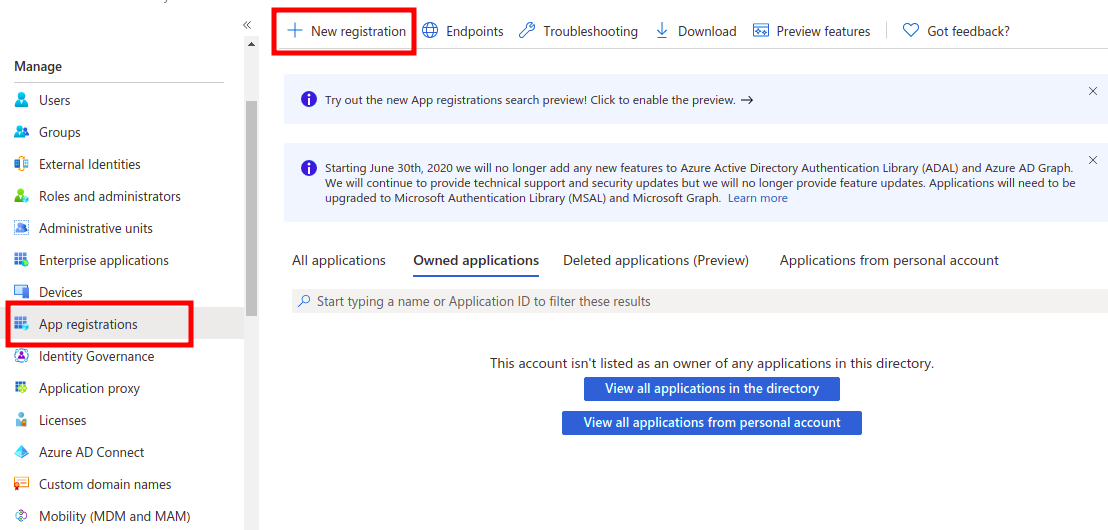
- Under Manage, click App registrations, then New registration.
- Enter
group-syncas the name and click Register.
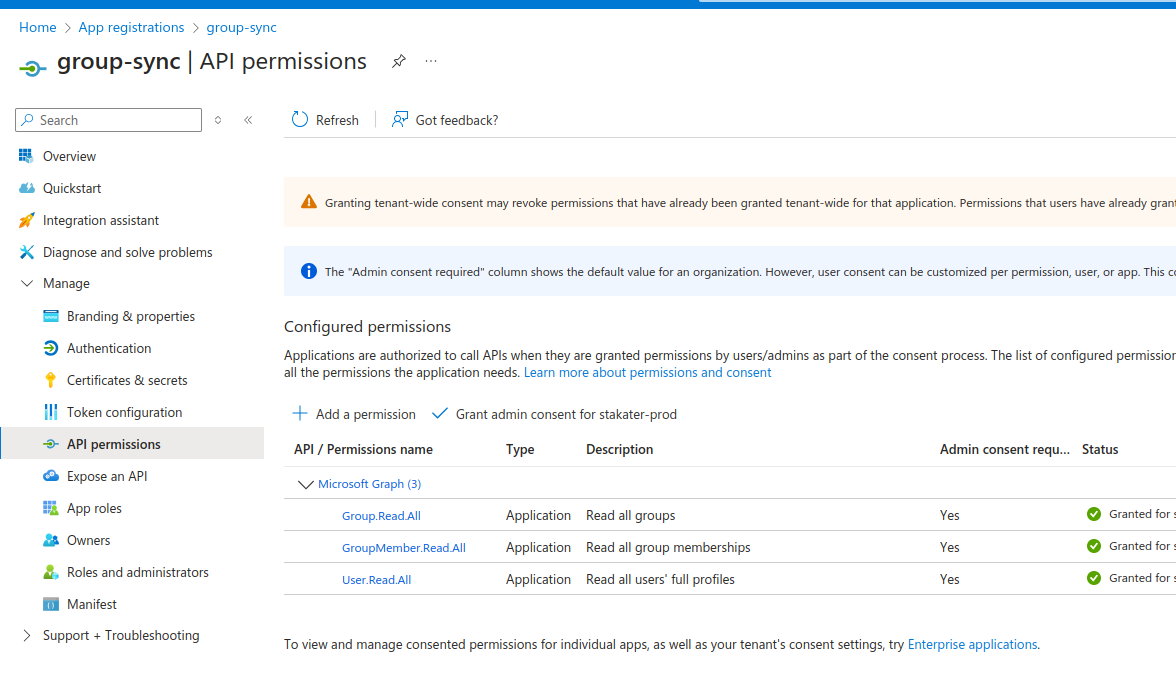
2. Add API permissions#
Go to API permissions > Configured permissions for the group-sync app and add:
Group.Read.AllGroupMember.Read.AllUser.Read.All
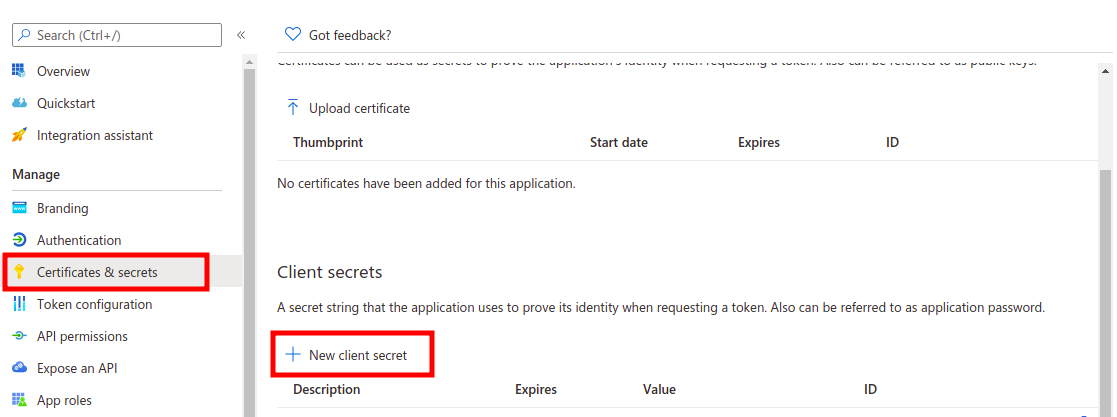
3. Create a client secret#
- Click Certificates & secrets in the left sidebar.
- Click New client secret.
- Enter
kubestackplus-group-syncas the description, choose an expiry, and click Add. - Copy the Value immediately — it will not be shown again.
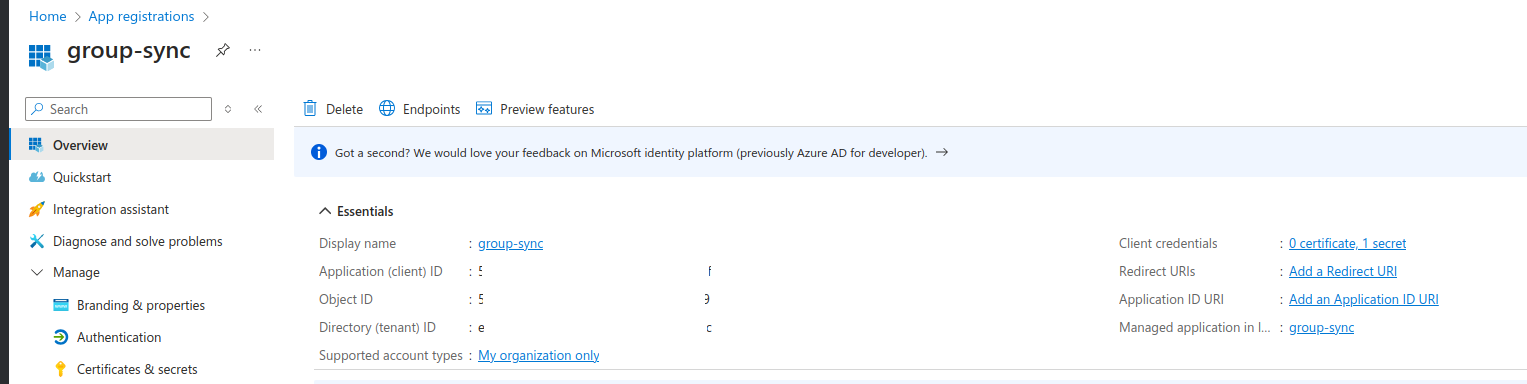
4. Share the credentials with Stakater Support#
From the group-sync app registration Overview tab, note the Application (client) ID and Directory (tenant) ID. Send these to Stakater Support via a secure channel along with the client secret:
- Application (client) ID
- Directory (tenant) ID
- Client secret
With group sync configured, continue to Configure authorization roles to set up what authenticated users can do.