Connect Google#
This page explains how to register a Google OAuth application and share the credentials with Stakater Support so that users with a Google account can log into KubeStack+.
1. Create a project in the Google Developer Console#
Log in to the Google Developer Console and click Create Project. Enter a name, then click Create and wait for the project to be ready.
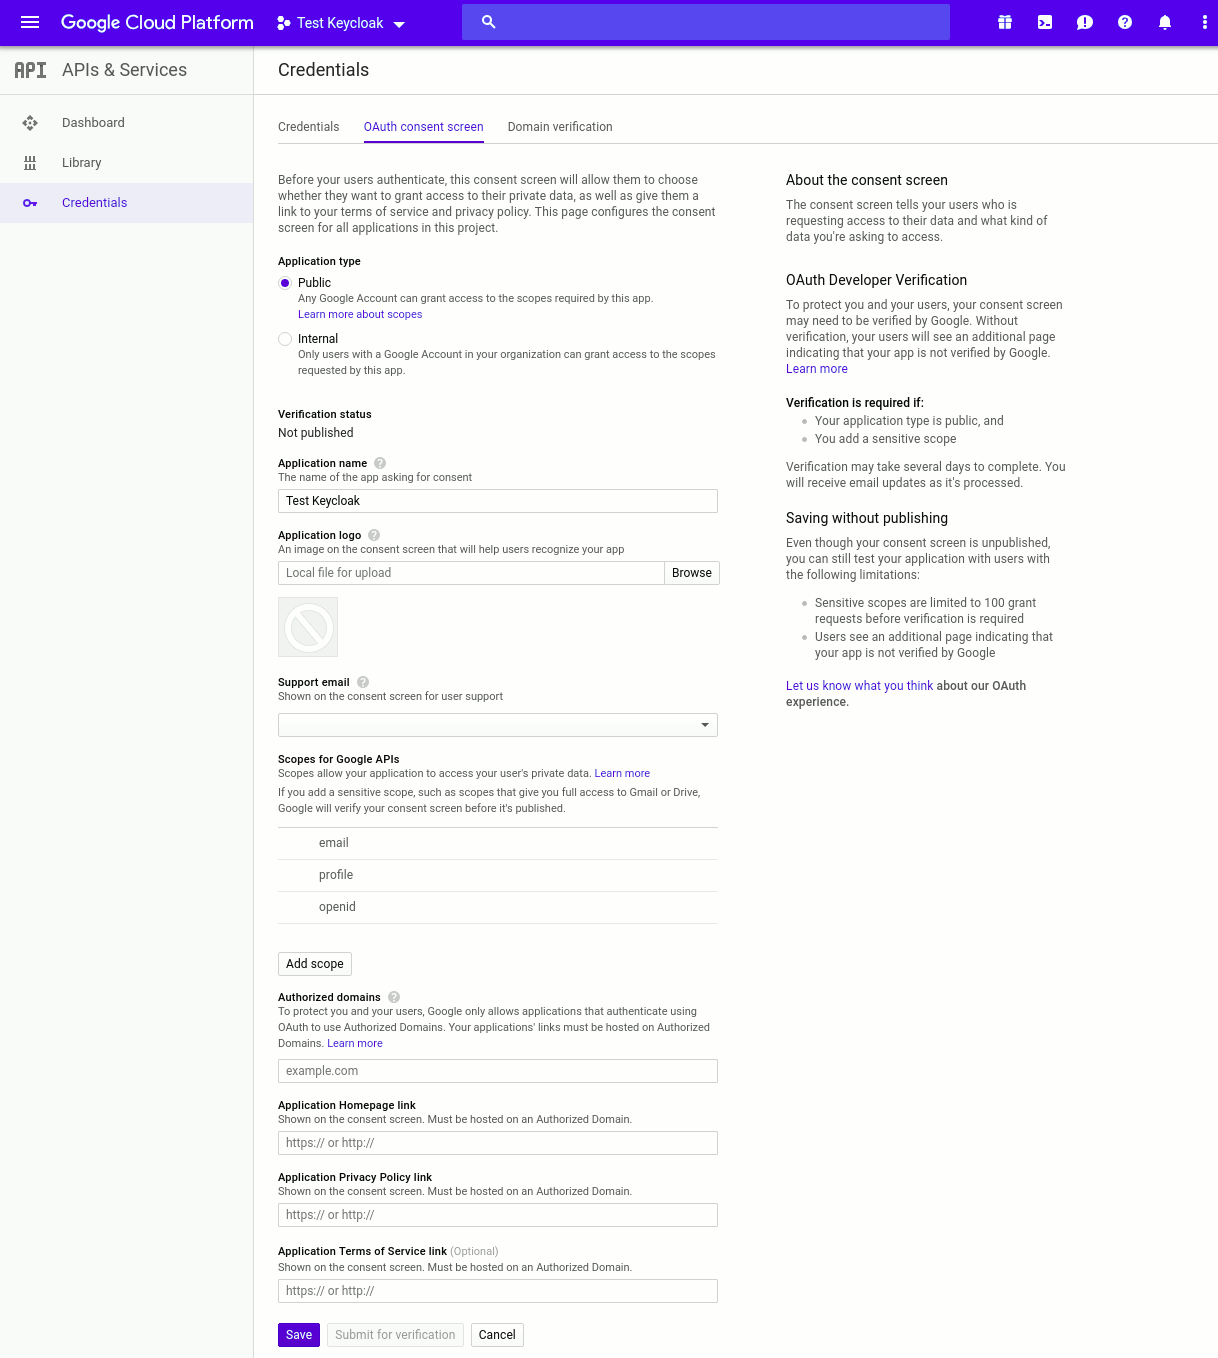
2. Configure the OAuth consent screen#
Google requires consent screen details before issuing any OAuth credentials. In your new project, navigate to OAuth consent screen and fill in the required fields:
- Set Application type to
Internal. - Add
email,profile, andopenidto the allowed Scopes. - Under Authorized domains, add
kubeapp.cloudand any hosted domains whose users you want to allow (for example,xyz.comallowsuser@xyz.com).
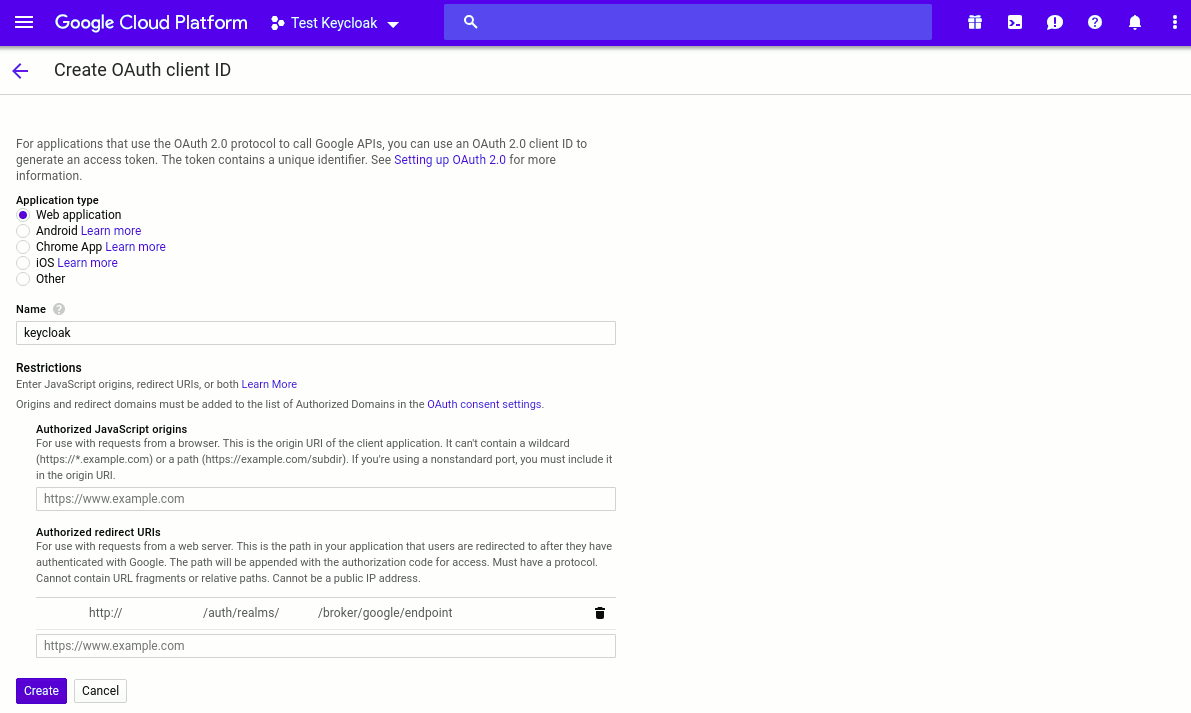
3. Create an OAuth client ID#
Navigate to APIs & Services > Credentials and select OAuth client ID under Create credentials.
On the Create OAuth client ID page:
- Set the application type to
Web application. - Enter a name for the client.
- Add the Authorized redirect URIs provided by Stakater Support.
- Click Create.
4. Share the credentials with Stakater Support#
After creating the client, click on your new OAuth 2.0 Client ID to view its settings. Send the following to Stakater Support via a secure channel:
- Client ID
- Client Secret
- Authorized Domain (the Google domain whose users you want to allow)

Stakater will complete the configuration and confirm when authentication is active.
With your identity provider connected, continue to Configure authorization roles to set up what authenticated users can do.