Configuring a Google identity provider#
To enable login with Google you first have to create a project and a client in the Google Developer Console.
-
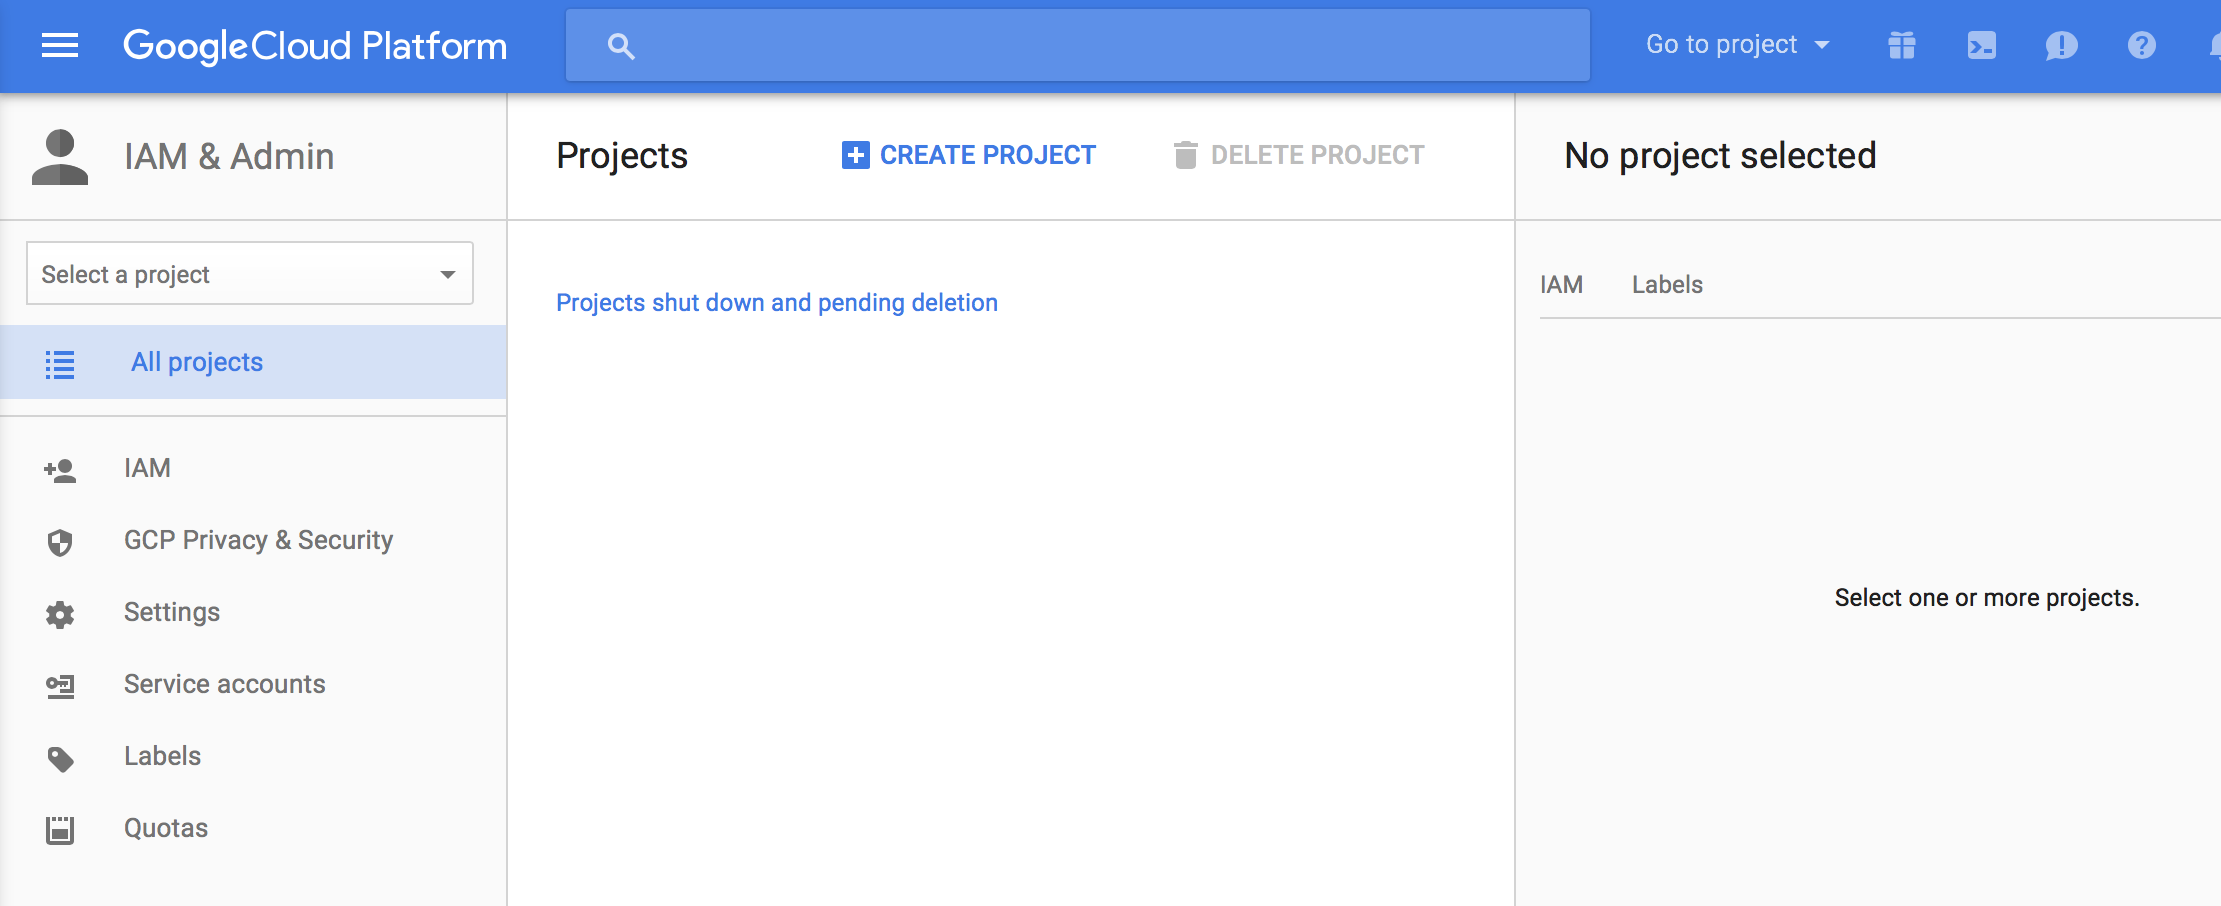
Log in to the Google Developer Console:
-
Click the
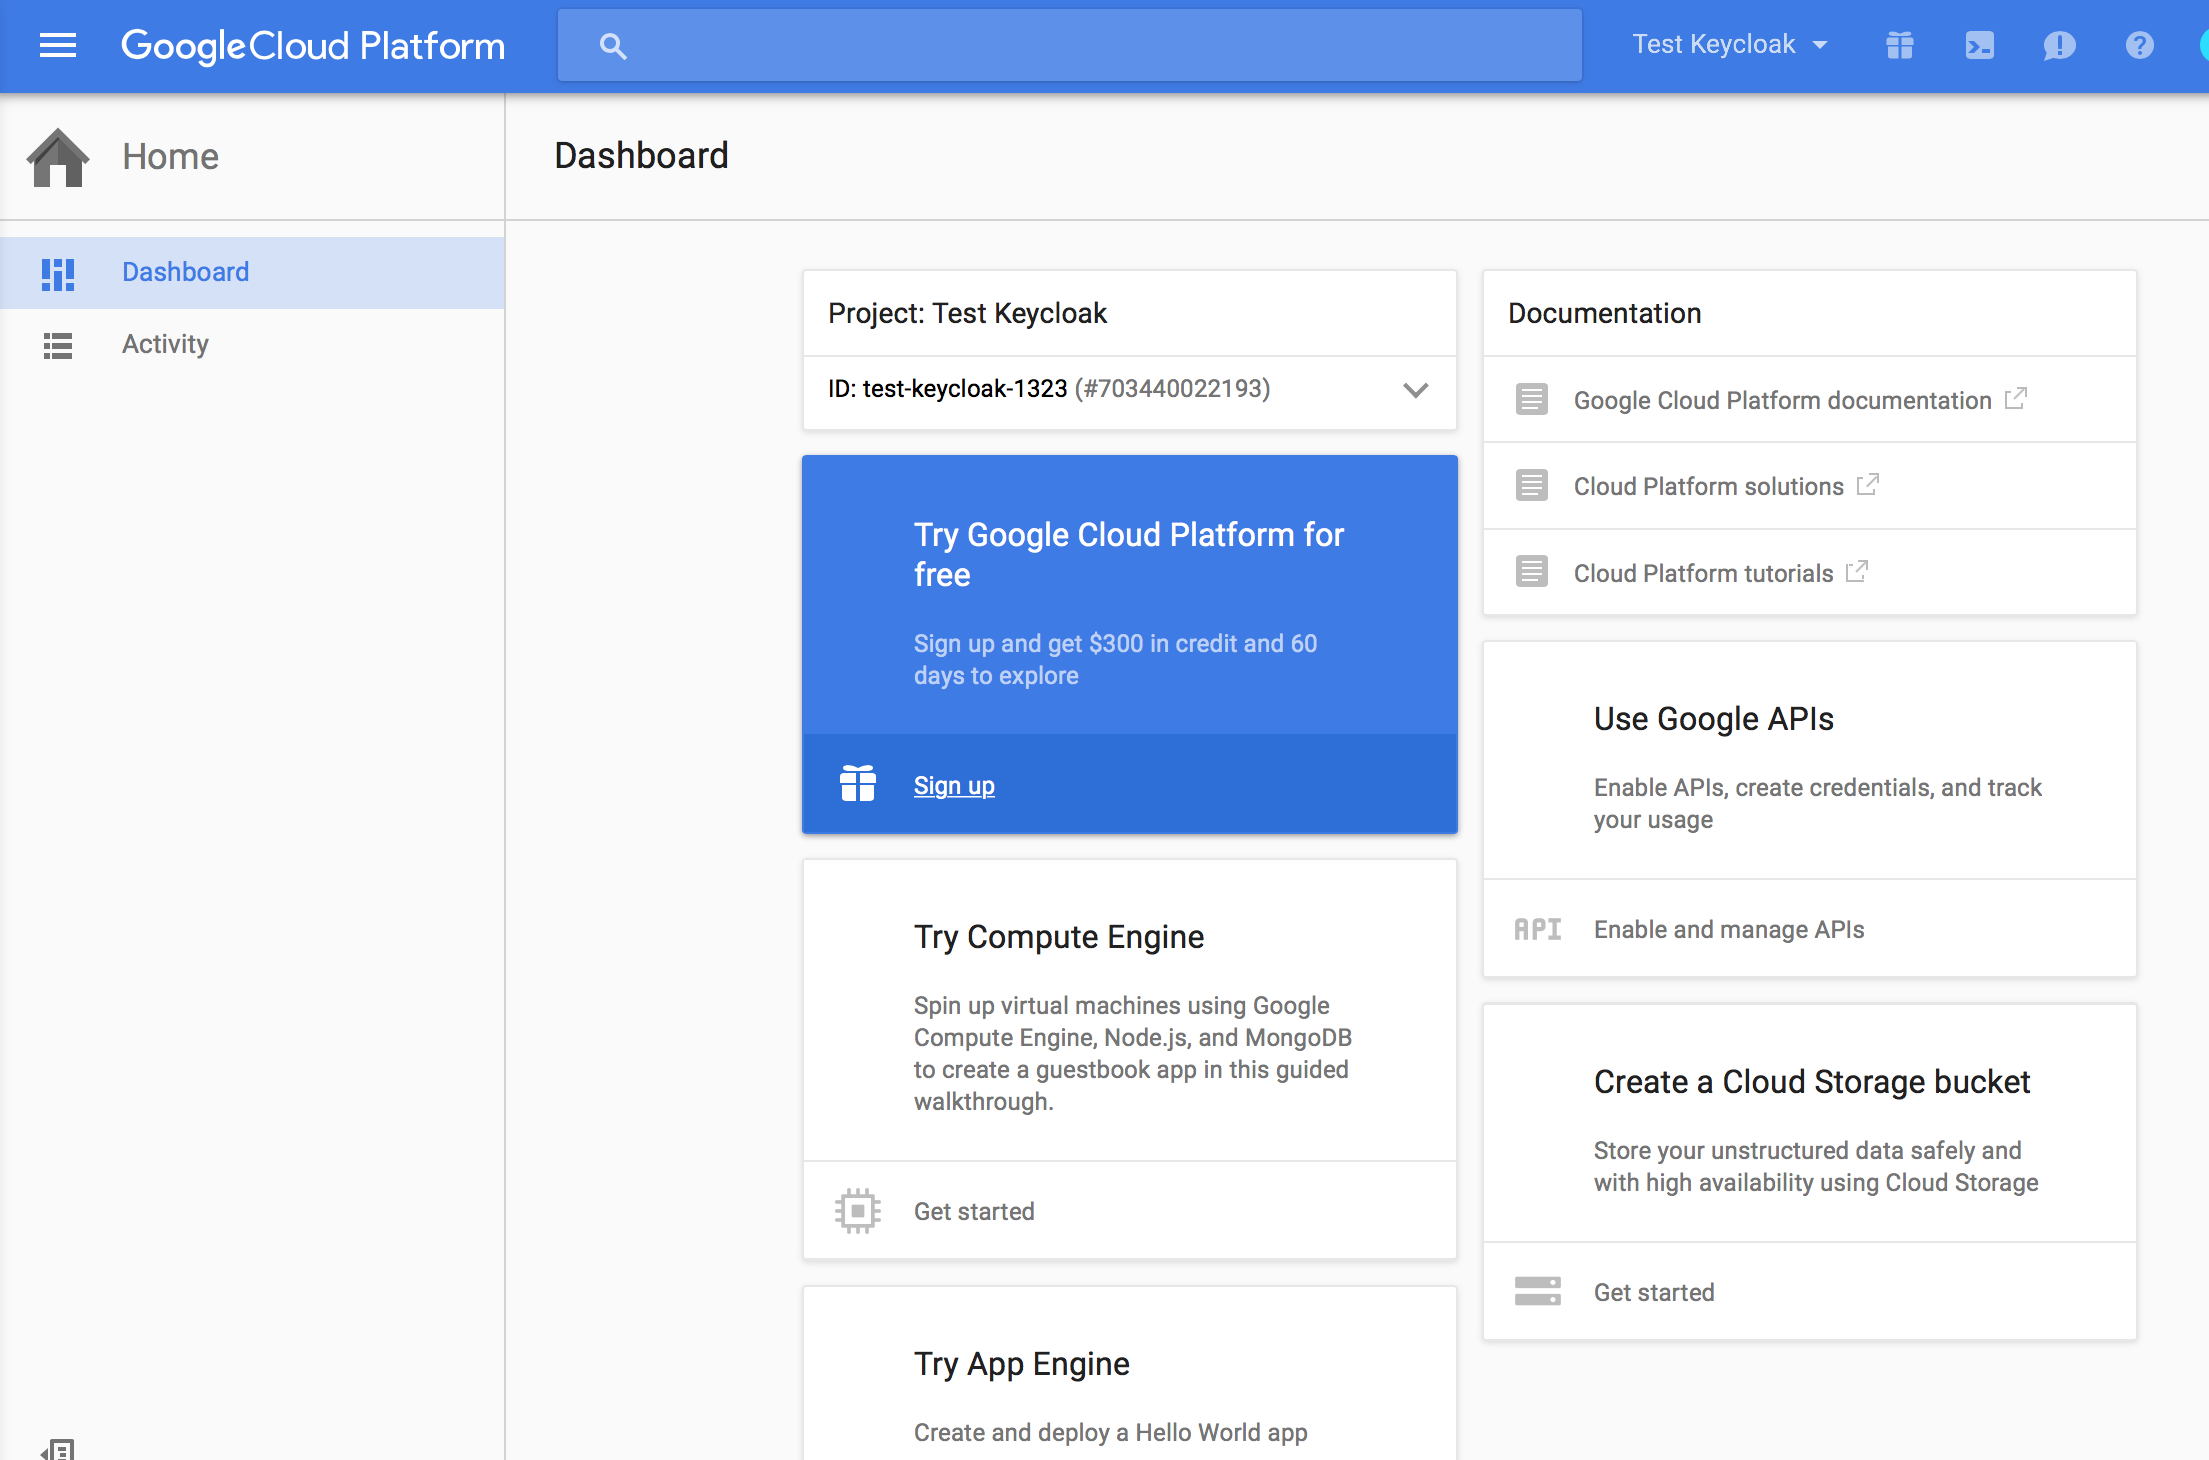
Create Projectbutton. Use any value forProject nameandProject IDyou want, then click theCreatebutton. Wait for the project to be created - this may take a while. Once created you will be brought to the project's dashboard: -
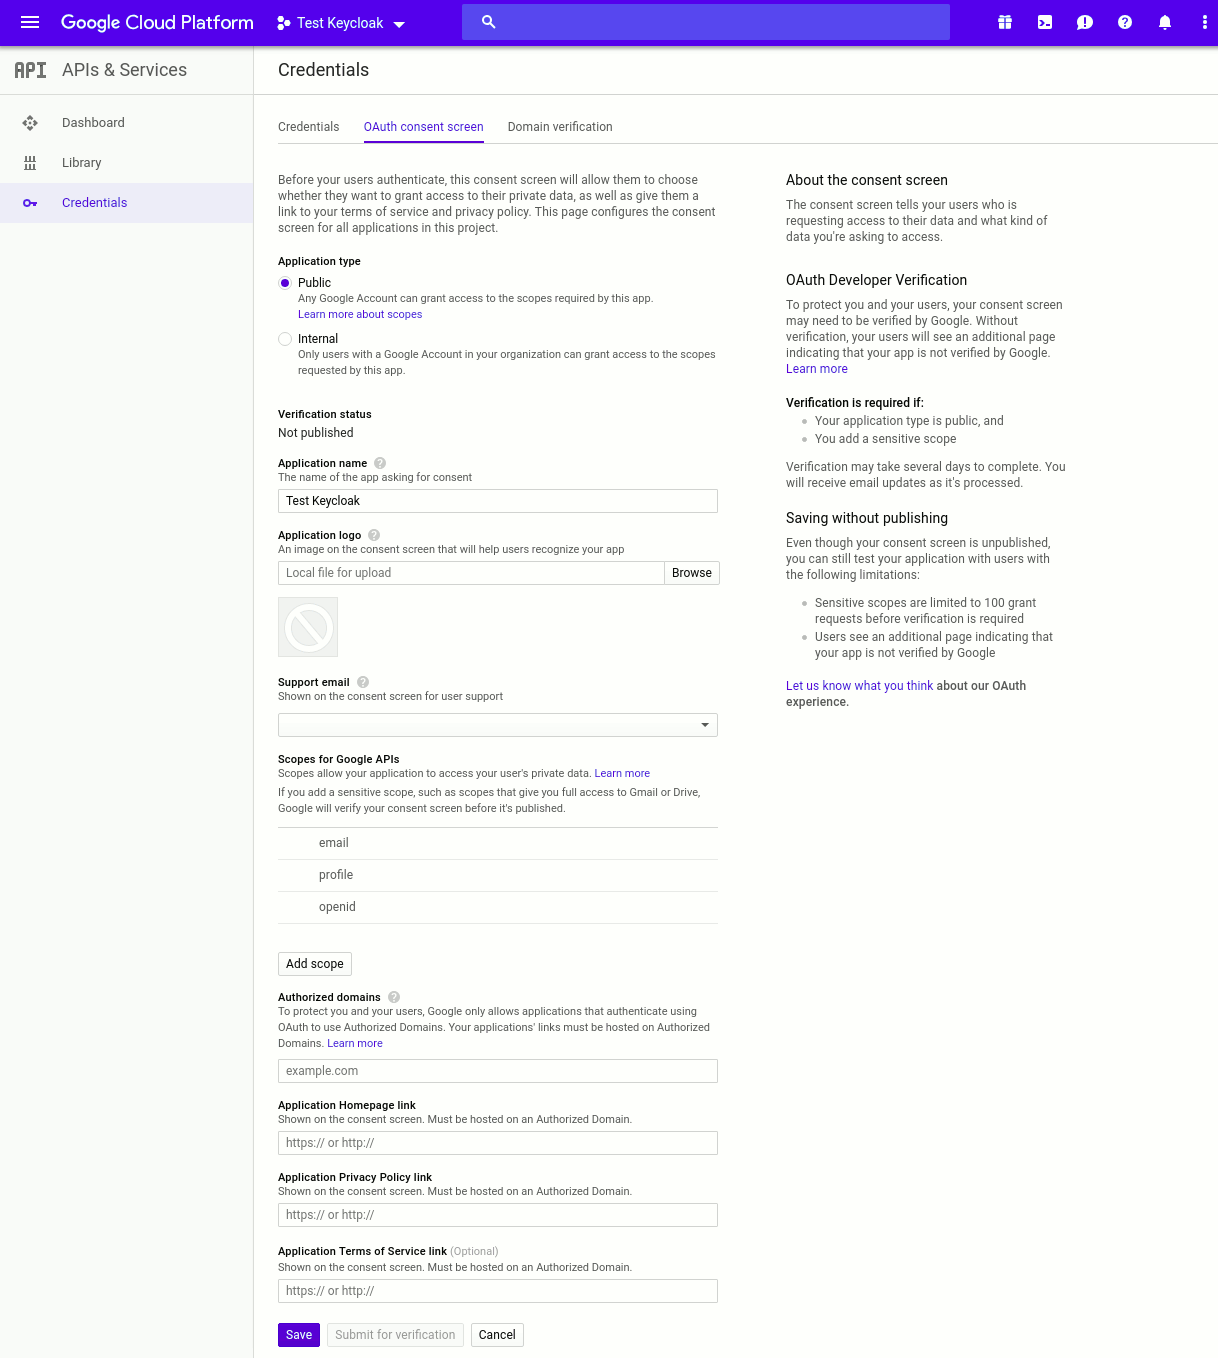
Google requires some basic information about the product before creating any secrets for it. For a new project, you have first to configure
OAuth consent screen. Fill inOAuth consent screendetails. Keep the Application typeInternal. Add theemail,profileandopenidin the allowed Scopes. Under Authorized domains addkubeapp.cloudalong with any hosted domains which you want to allow. For example, if Authorized domain isxyz.comthenbob@xyz.comwill be allowed: -
Then navigate to the
APIs & Servicessection in the Google Developer Console. On that screen, navigate toCredentialsadministration. SelectOAuth client IDunder theCreate credentialsbutton. -
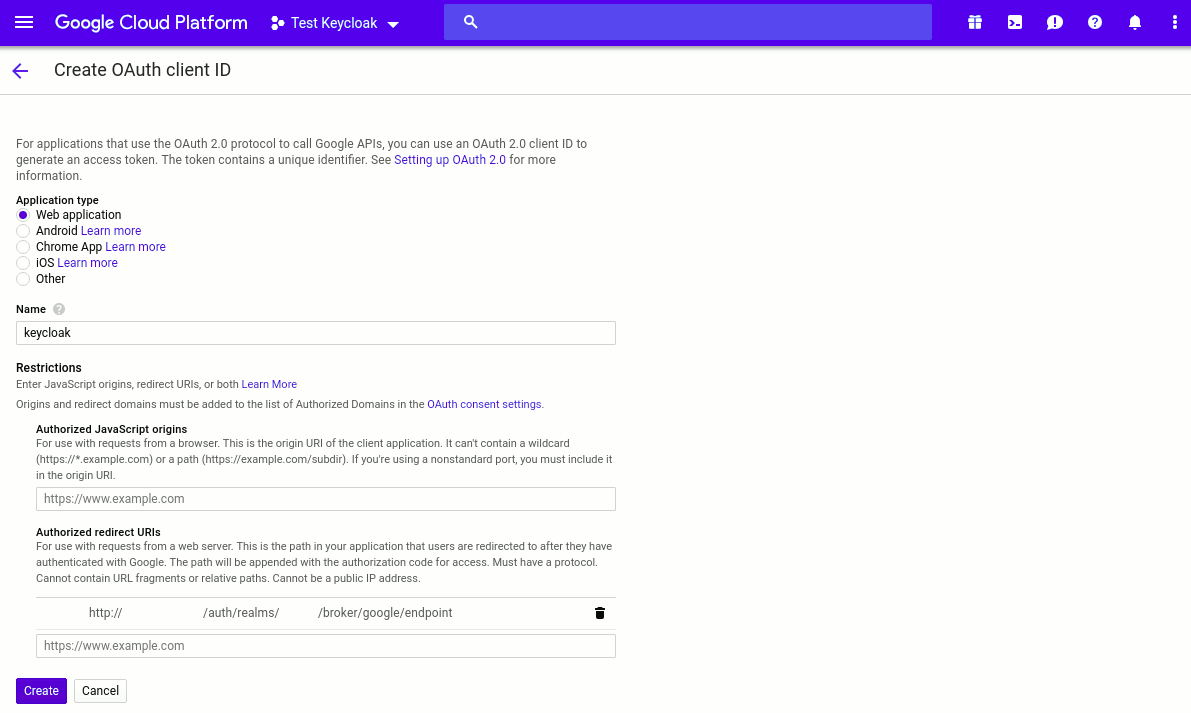
You will then be brought to the
Create OAuth client IDpage. SelectWeb applicationas the application type. Specify the name you want for your client. Enter theAuthorized redirect URIsthat Stakater Support provides, then click theCreatebutton: -
After you click
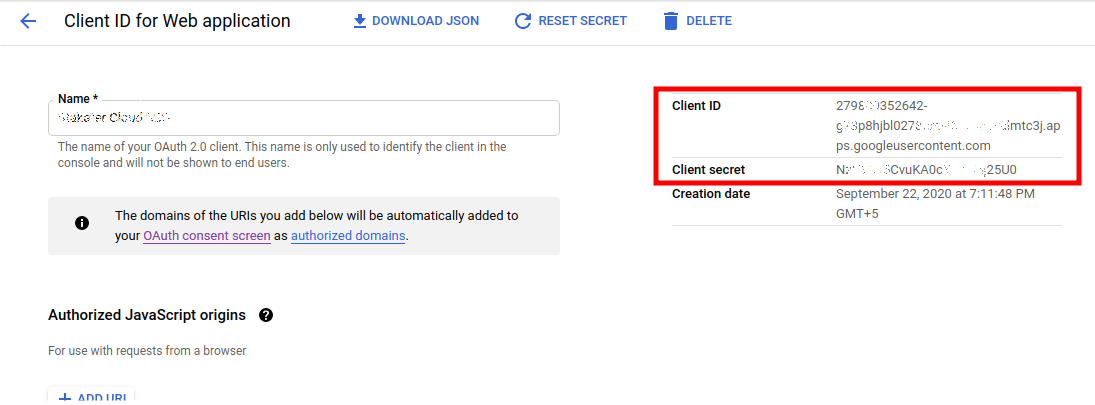
Createyou will be brought to theCredentialspage. Click on your newOAuth 2.0 Client IDto view the settings of your new Google Client. You will need to provide theClient IDandClient secretto Stakater, send these to Stakater Support:
Items provided by Stakater Support#
Redirect URIs
Items to be provided to Stakater Support#
Client IDSecretAuthorized DomainUsers of this Google domain will be able to access the cluster
