Setting Up Webhook#
The webhook setup acts as a bridge between your code repository and the CI/CD pipeline. It allows your pipeline to be triggered automatically whenever specific events occur in your repository, such as code pushes or pull requests. The webhook secret further ensures that these interactions are secured and authenticated.
Objectives#
- Obtain Interceptor URL from SAAP admin.
- Create Webhook Secret for your webhook security.
- Add webhook in your source code repository.
Key Results#
- Established a webhook connection between GitHub and your pipeline.
- Created a webhook secret for secure communication.
Tutorial#
Creating Webhook in GitHub#
-
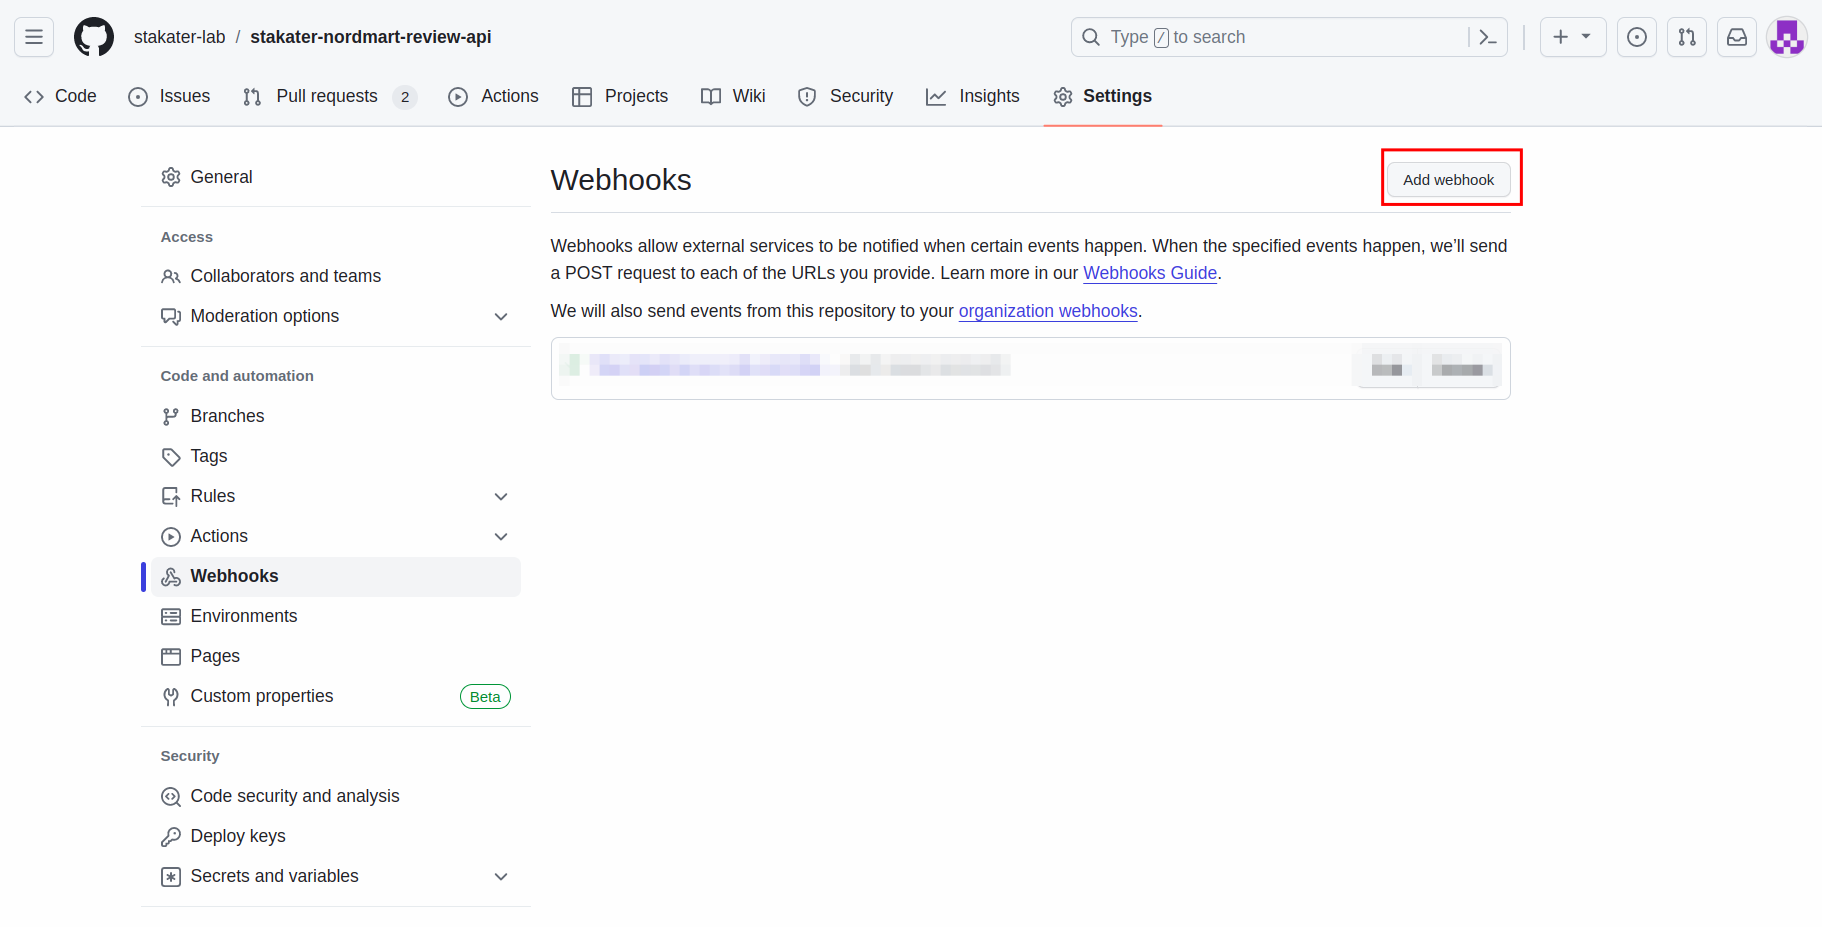
Begin by accessing the repository where you plan to set up the webhook. In your source code GitHub repository, locate and click on the
Settingstab. -
Within the repository settings, navigate to the
Webhookssection. This is where you can manage and configure webhooks for your repository. -
Click on the option to
Add a new webhookto initiate the process of creating a new webhook for your repository. -
To set up the webhook, you'll need the
URL of the pipeline-as-code interceptor. This URL is used to connect GitHub with your SAAP's pipeline system. -
Ask the SAAP admin to provide you with the
Interceptor URL"route" from the project or namespace where the pipeline-as-code is installed. -
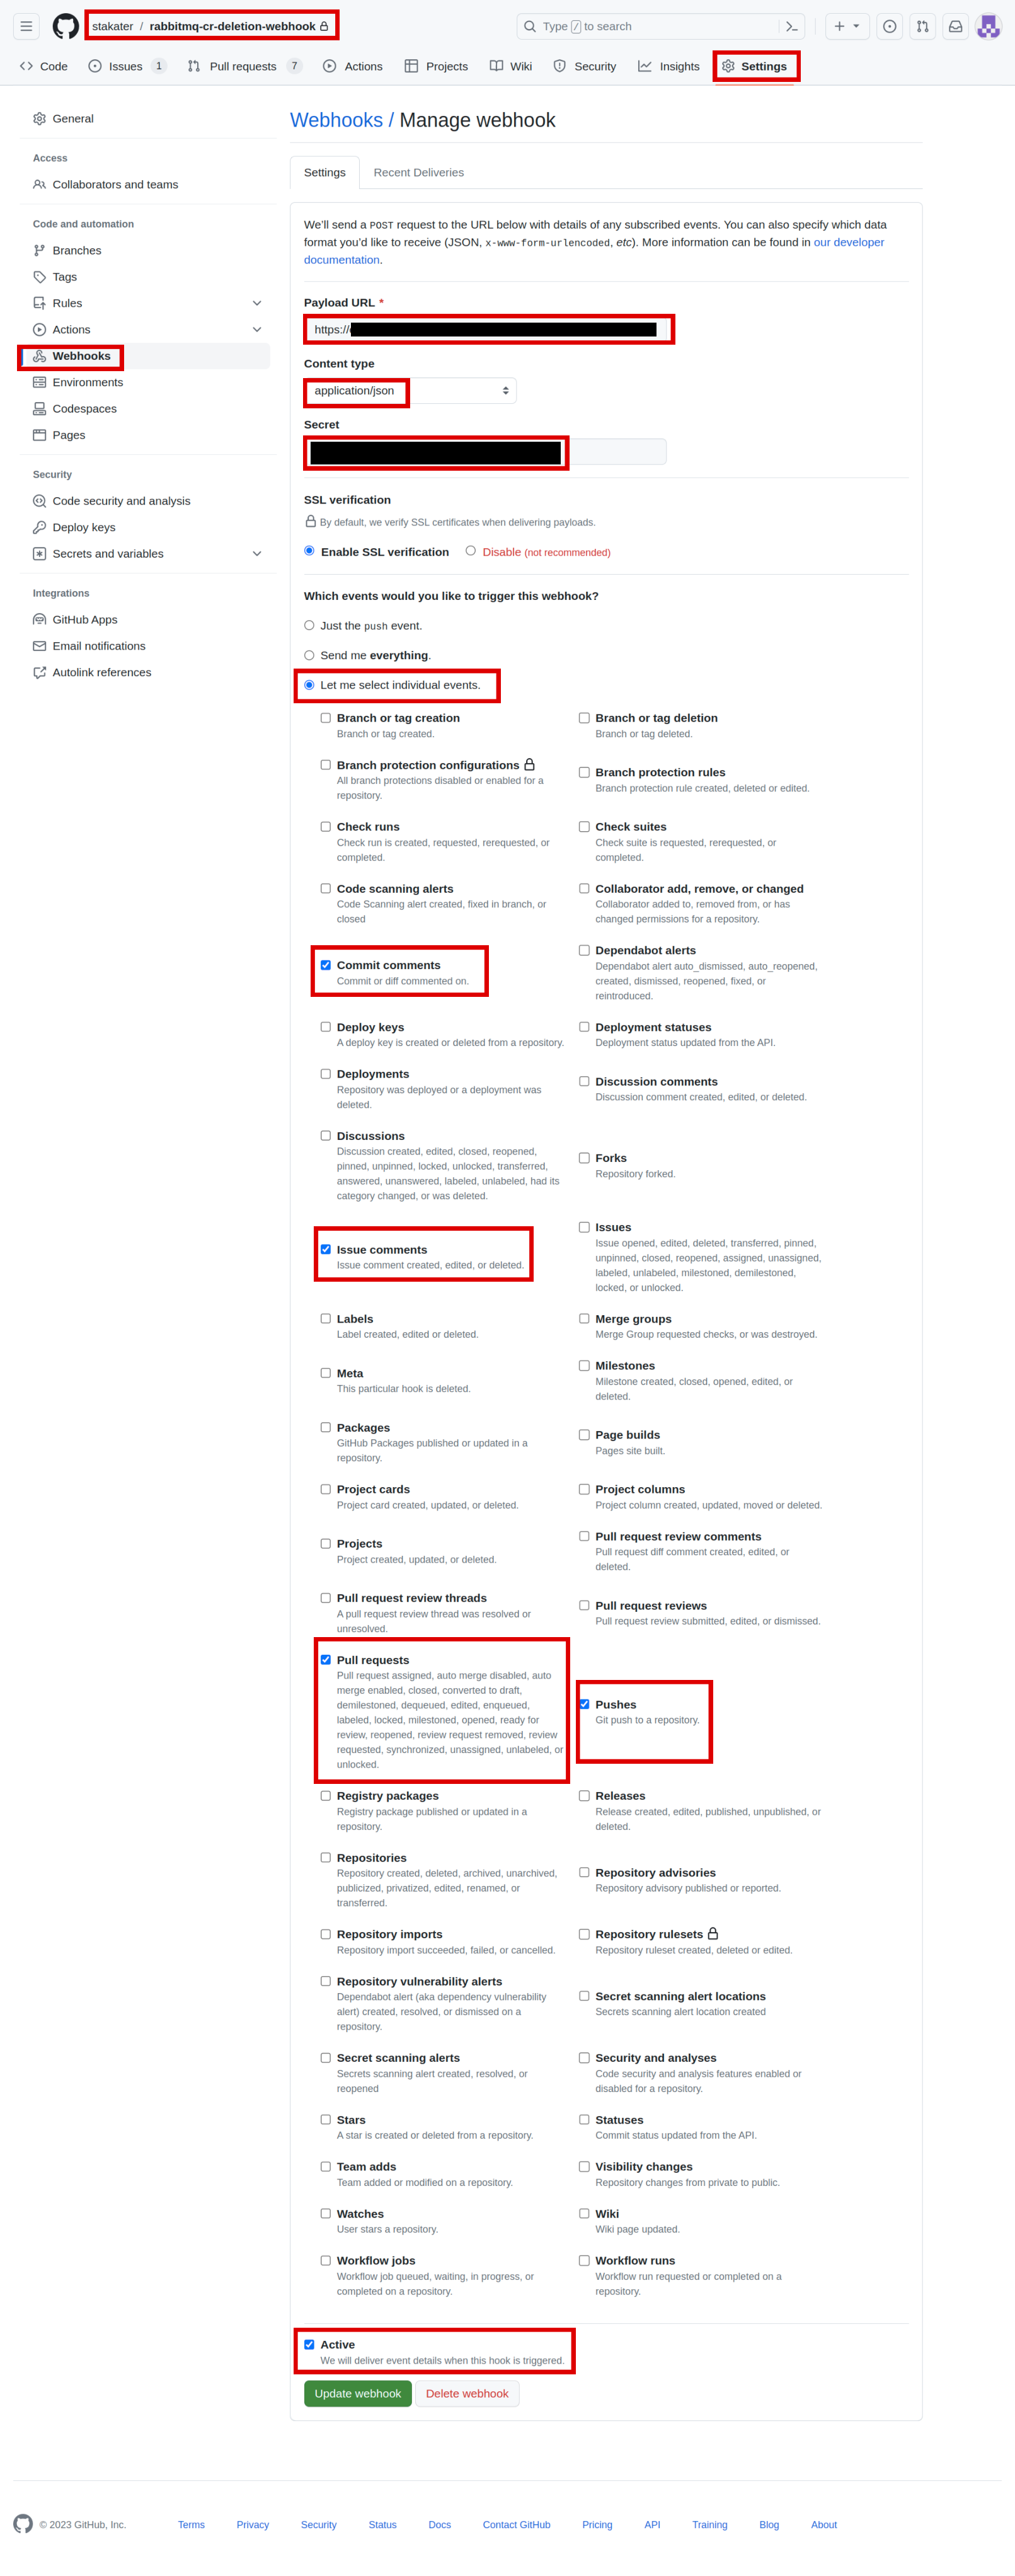
Back in the GitHub repository's webhook settings, enter the
pipeline-as-code interceptor URLyou obtained in the previous step in thePayload URL. -
Choose
Content typeasapplication/json. -
Let's create a secret for our webhook to make it secure. Open up a terminal and generate a random secret with this command.
Now copy it and paste it under
Secretsection in Webhook.Note
Save the secret because we will need it later when we add it in to Vault.
-
Choose the specific events that should trigger the webhook. Click “Let me select individual events” and select the following events to trigger the webhook:
- Commit status
- Issue comments
- Pushes
- pull requests
-
Click on
Add webhook/Update webhook.Once you've entered the interceptor URL and chosen the triggering events, proceed to add the webhook. This will establish the connection between your GitHub repository and SAAP pipeline.
Adding Webhook Secret to Vault#
-
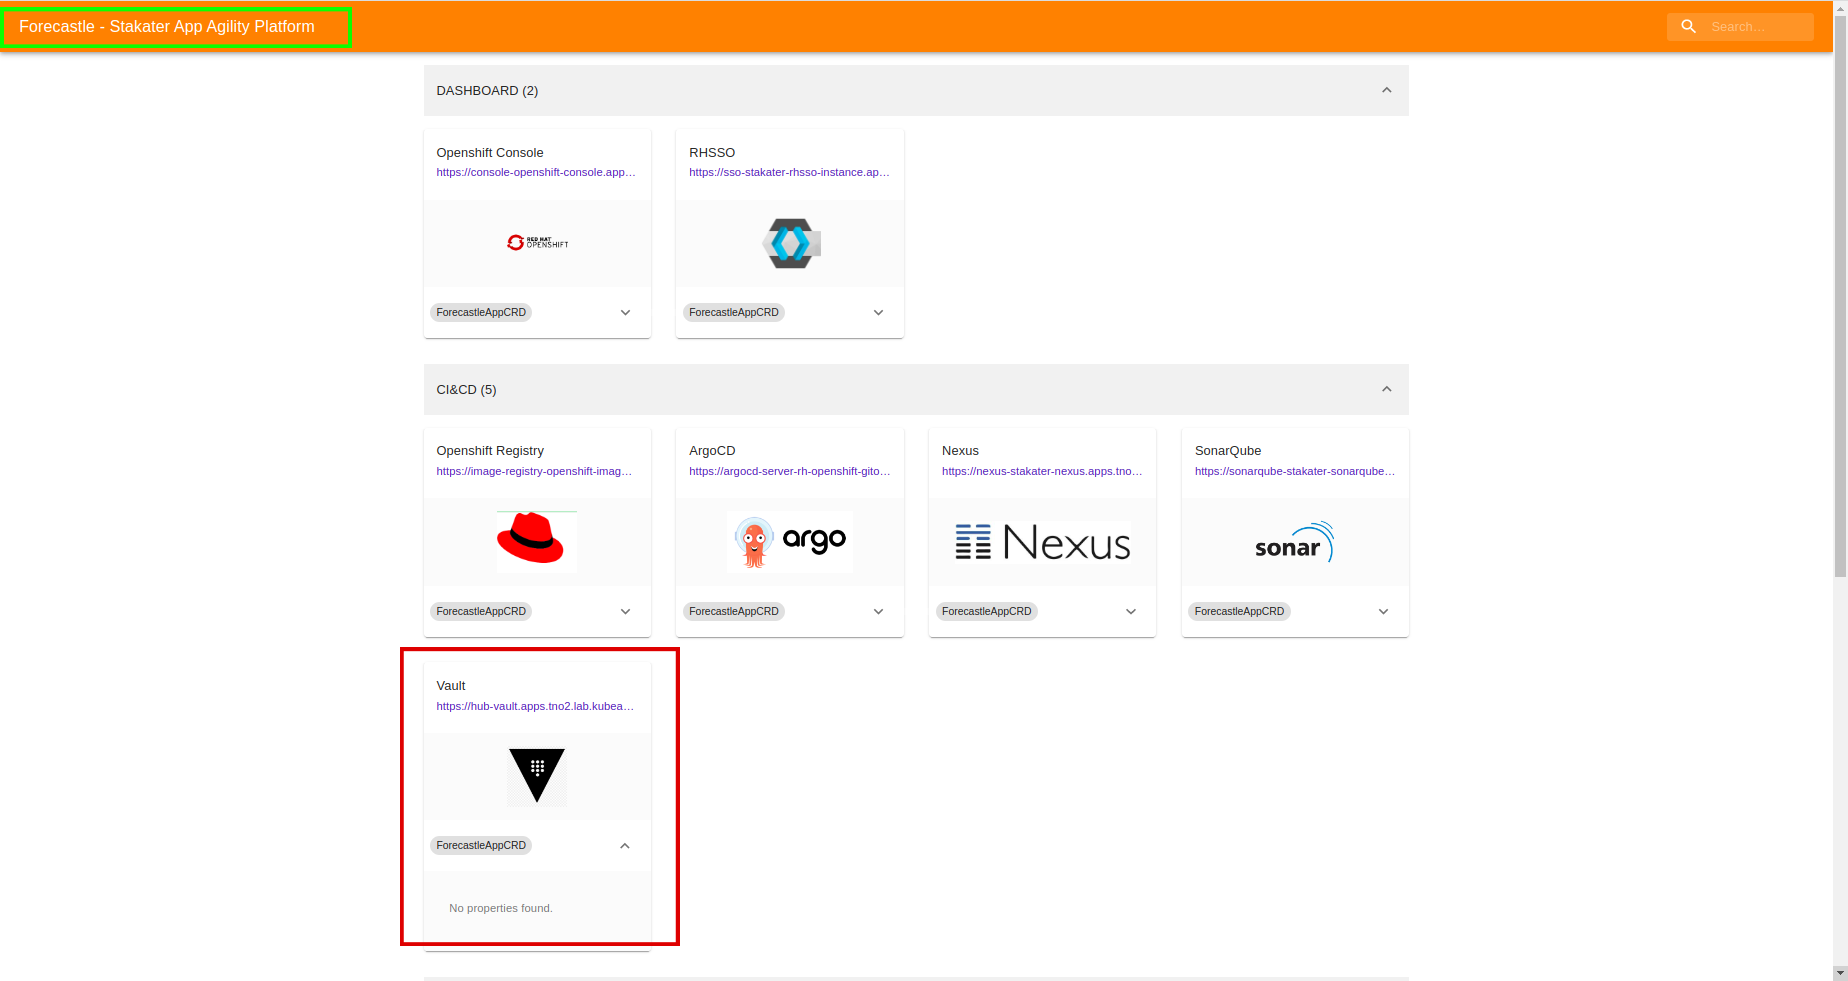
Access Vault from
Forecastleconsole, searchVaultand open theVaulttile. -
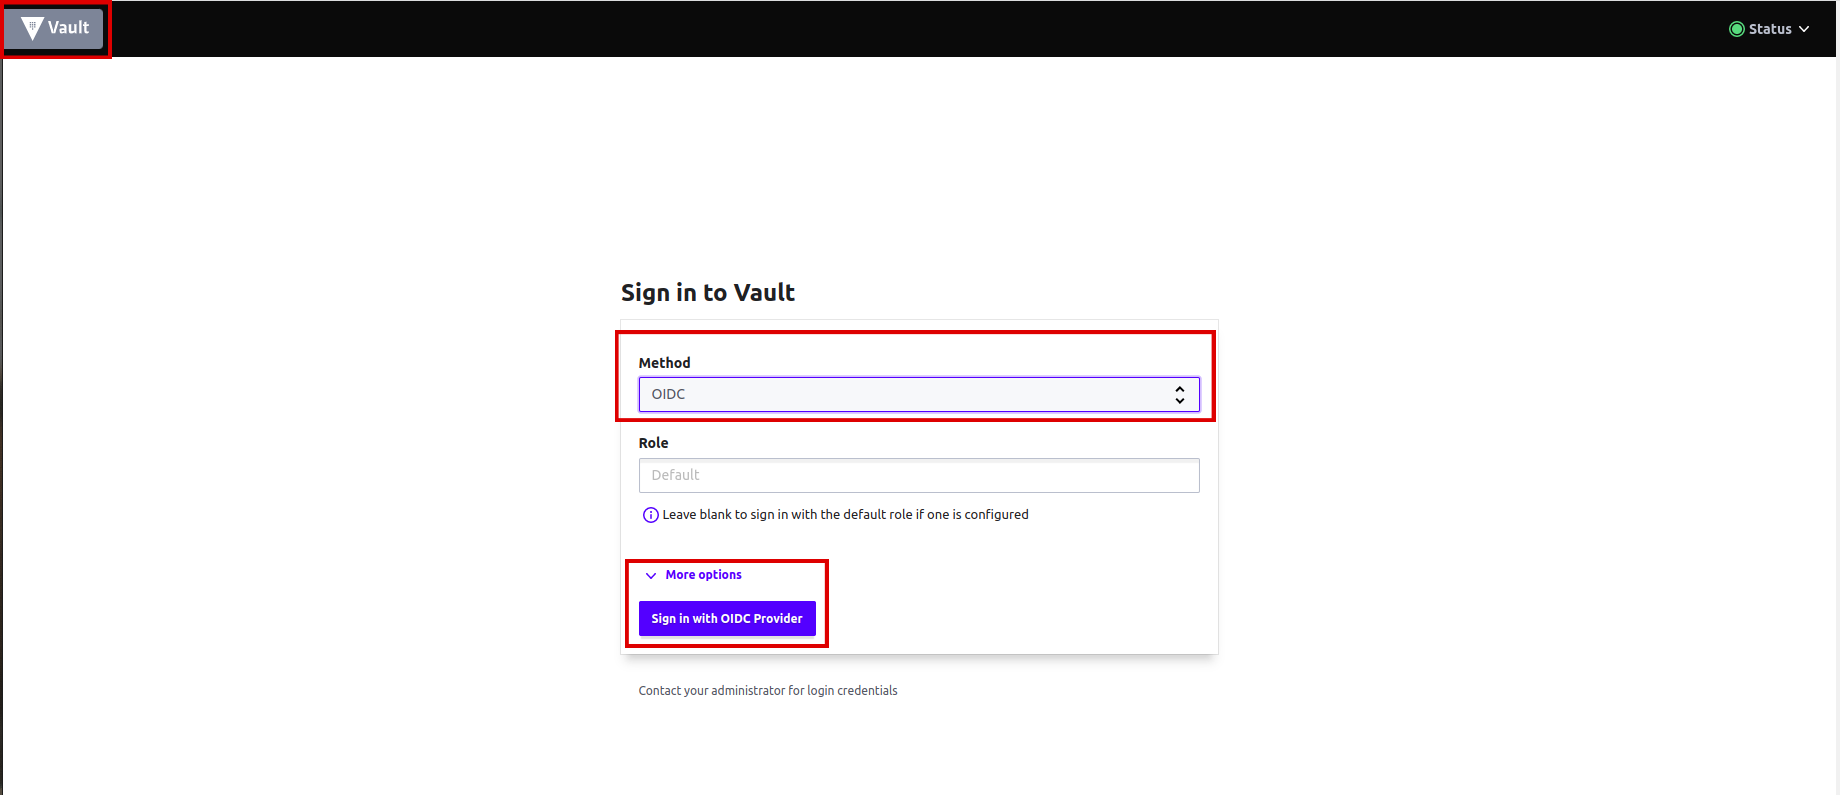
From the drop-down menu under
Method, selectOIDCand click onSign in with OIDC Provider. -
You will be brought to the
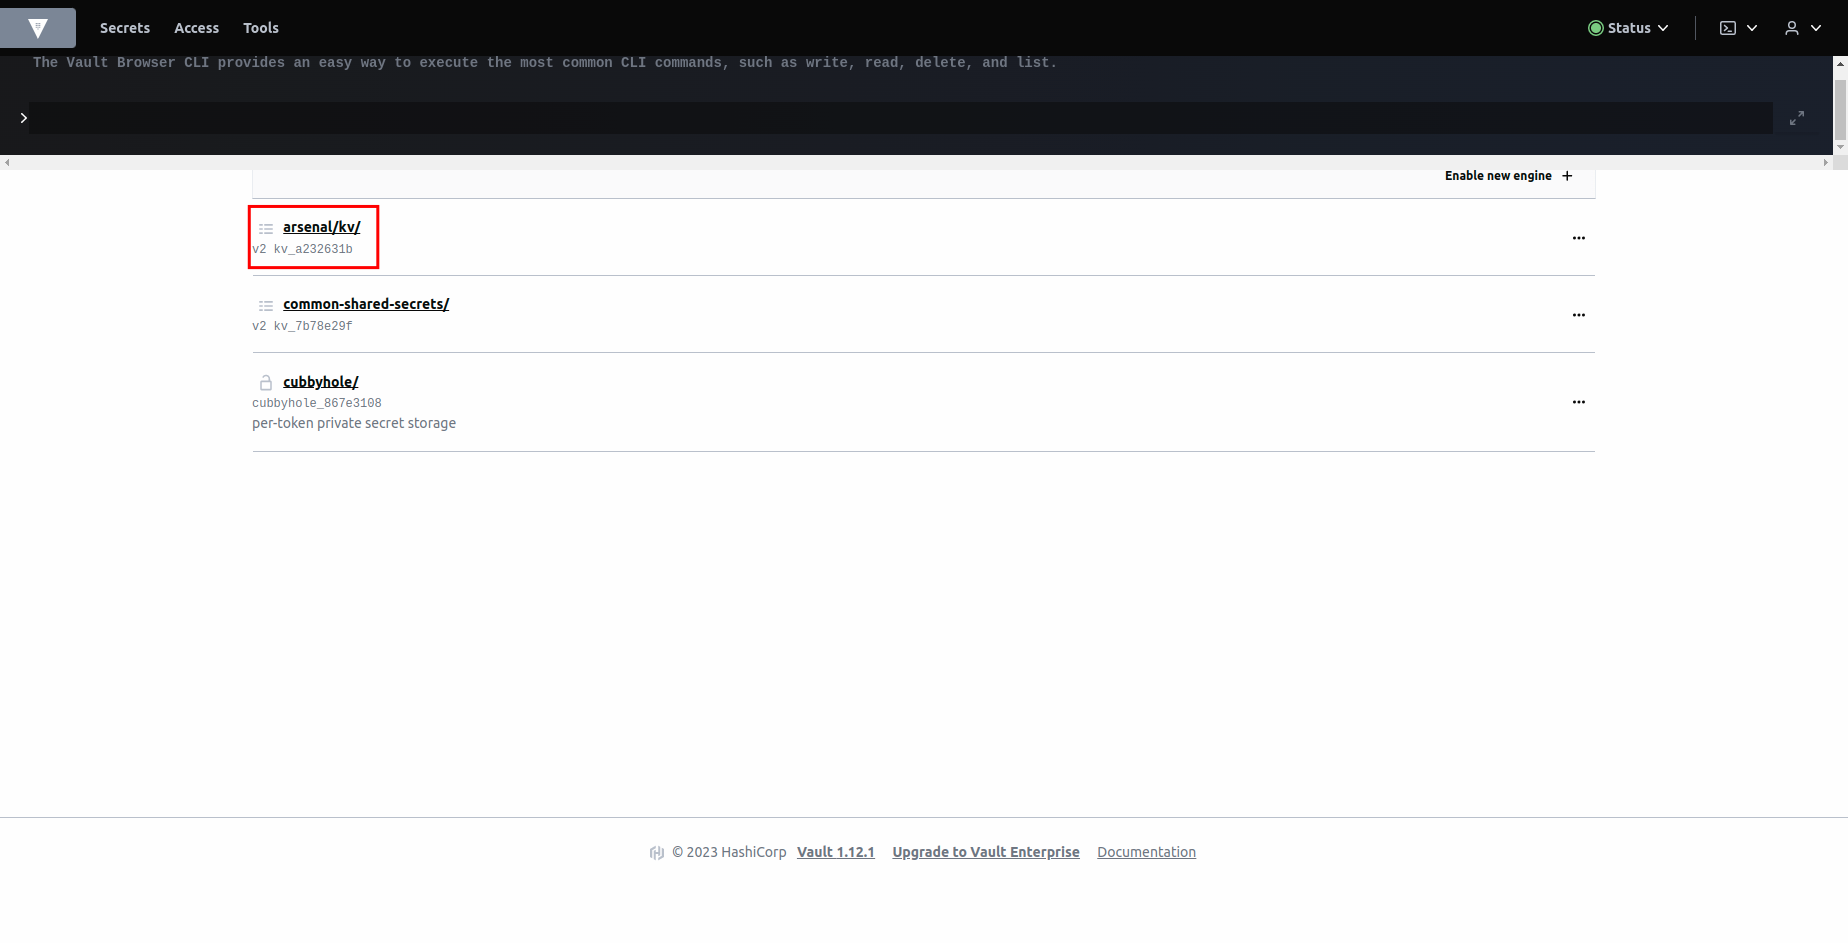
Vaultconsole. You should see the key/value path for. -
Click on
<your-tenant>/kv/. -
You will now be brought to the
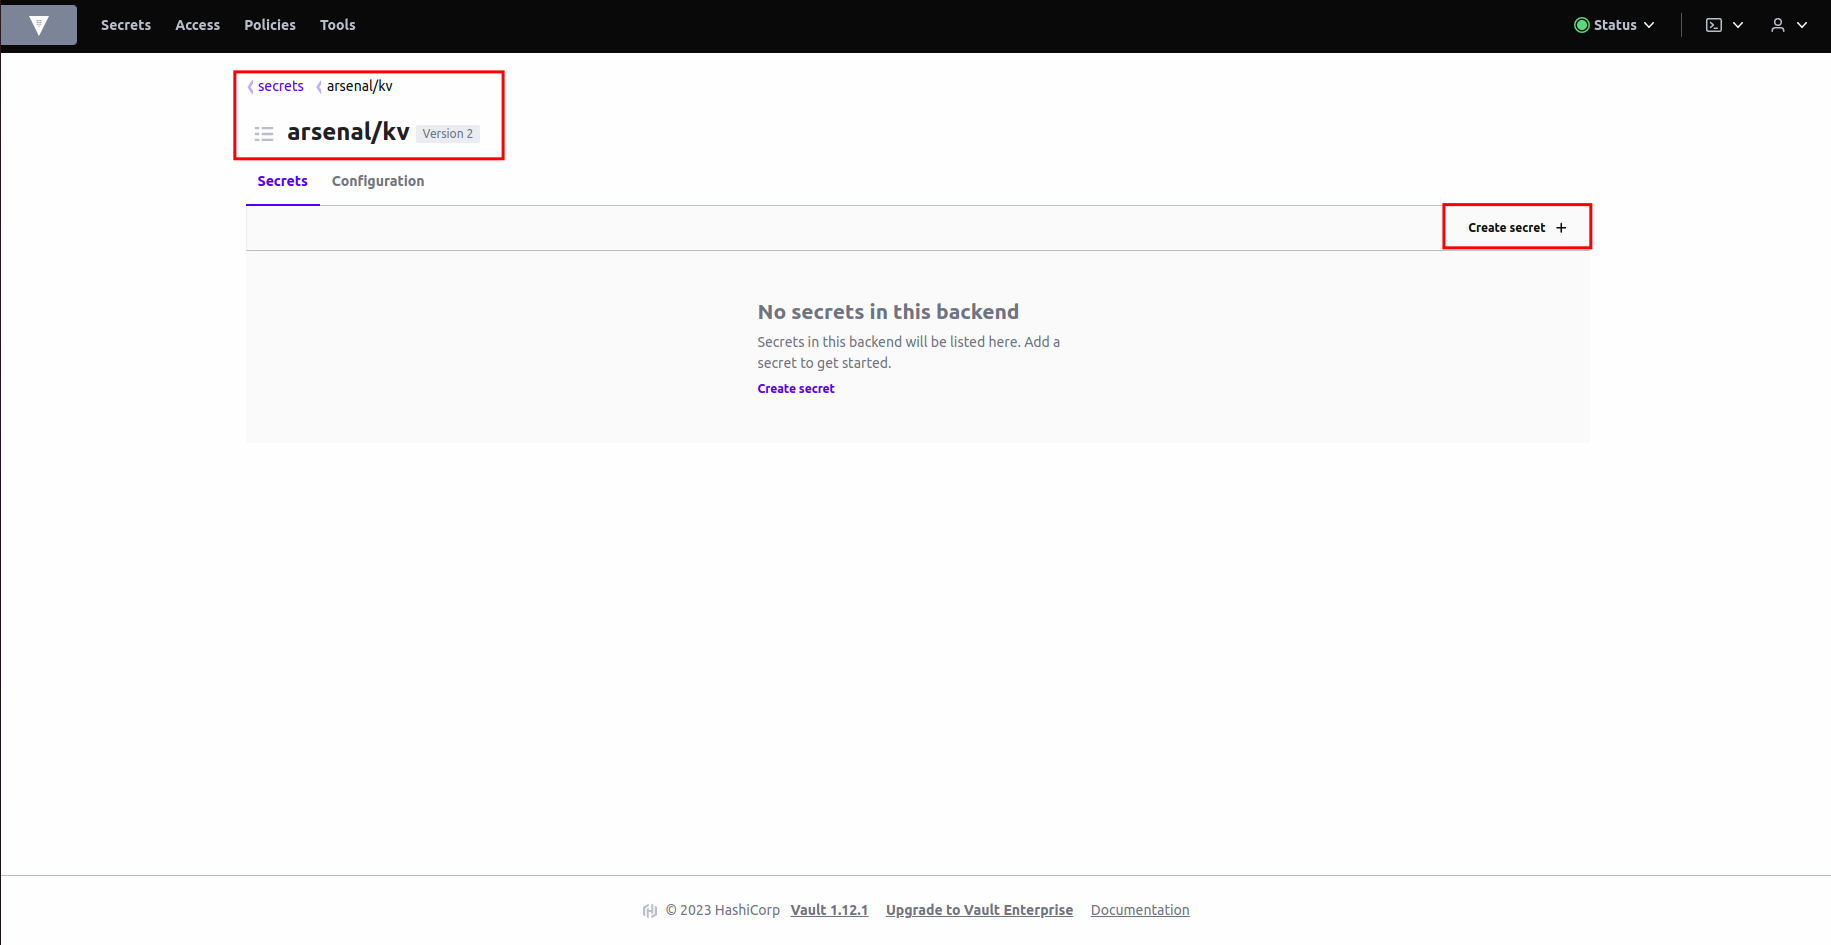
secretsand theconfigurationsin Vault for. Click on create secret. -
Let's create a
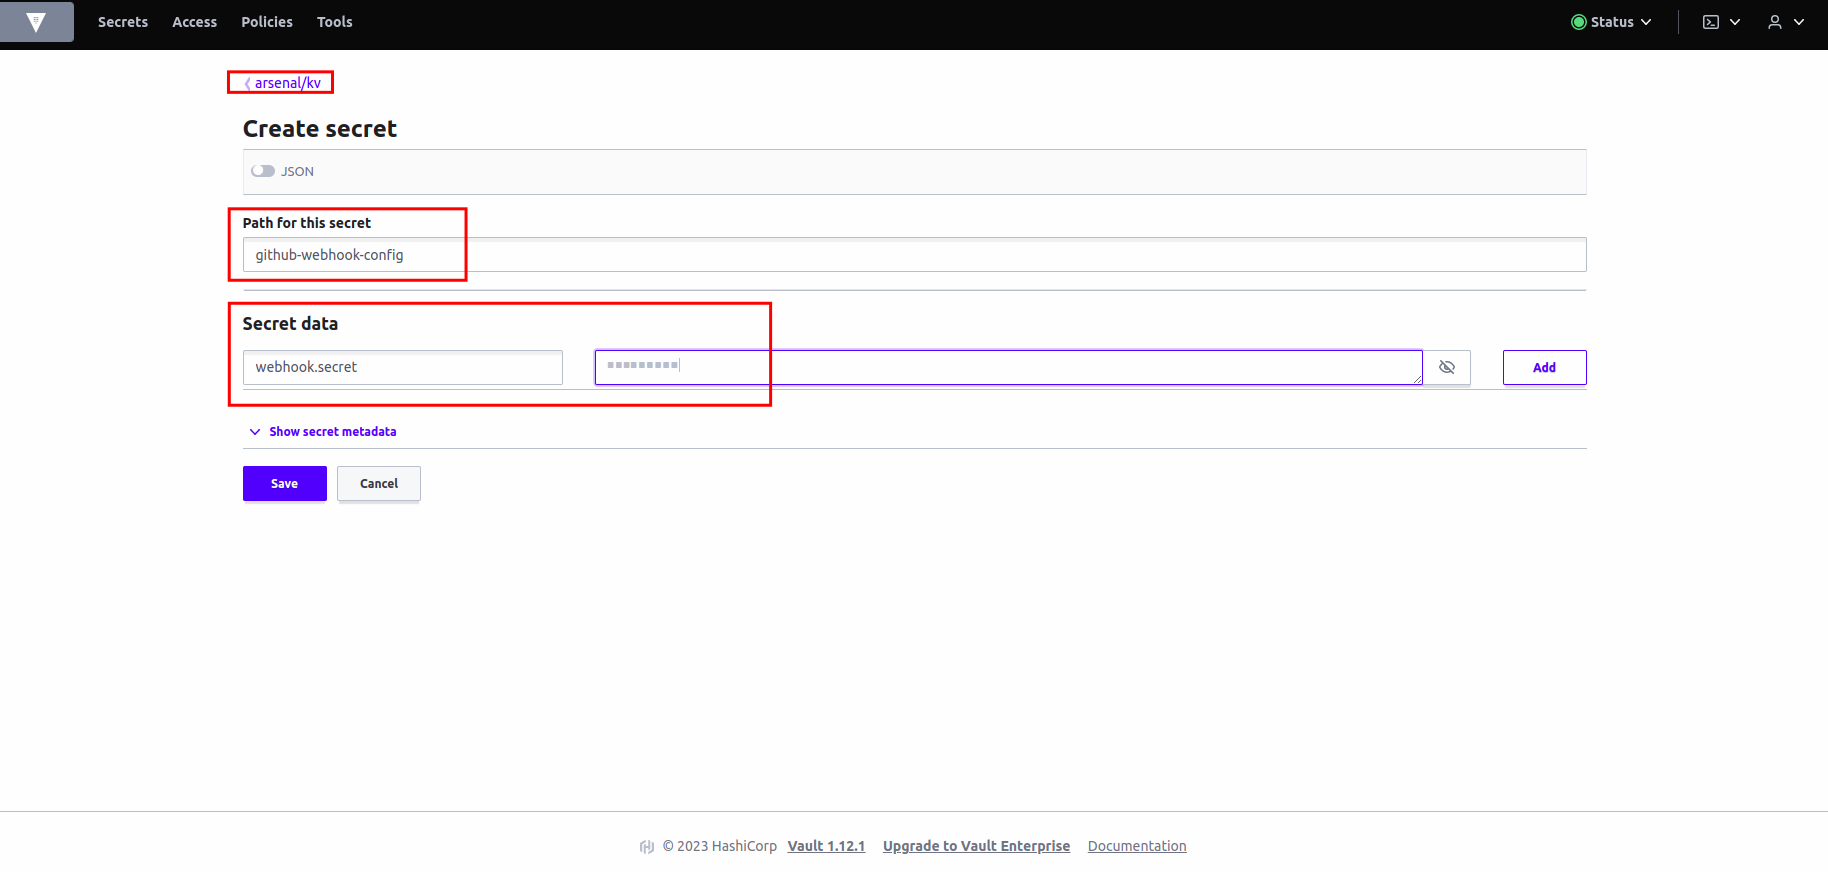
github-webhook-configsecret for our webhook secret. Write the name of the secret inpathwhich isgithub-webhook-config. Addsecret data, key:webhook.secret, value: (your webhook secret). Hit save.
Add External Secret#
-
Head over to the
apps-gitops-configrepository. -
If you have followed the tutorial on configuring
apps-gitops-configrepository correctly, you should already have your tenant folder at the root of this repository. Open the tenant folder. -
Navigate to the application folder. In our case it will be
stakater-nordmart-review-api -
Now open up the
buildfolder. -
Create a file named
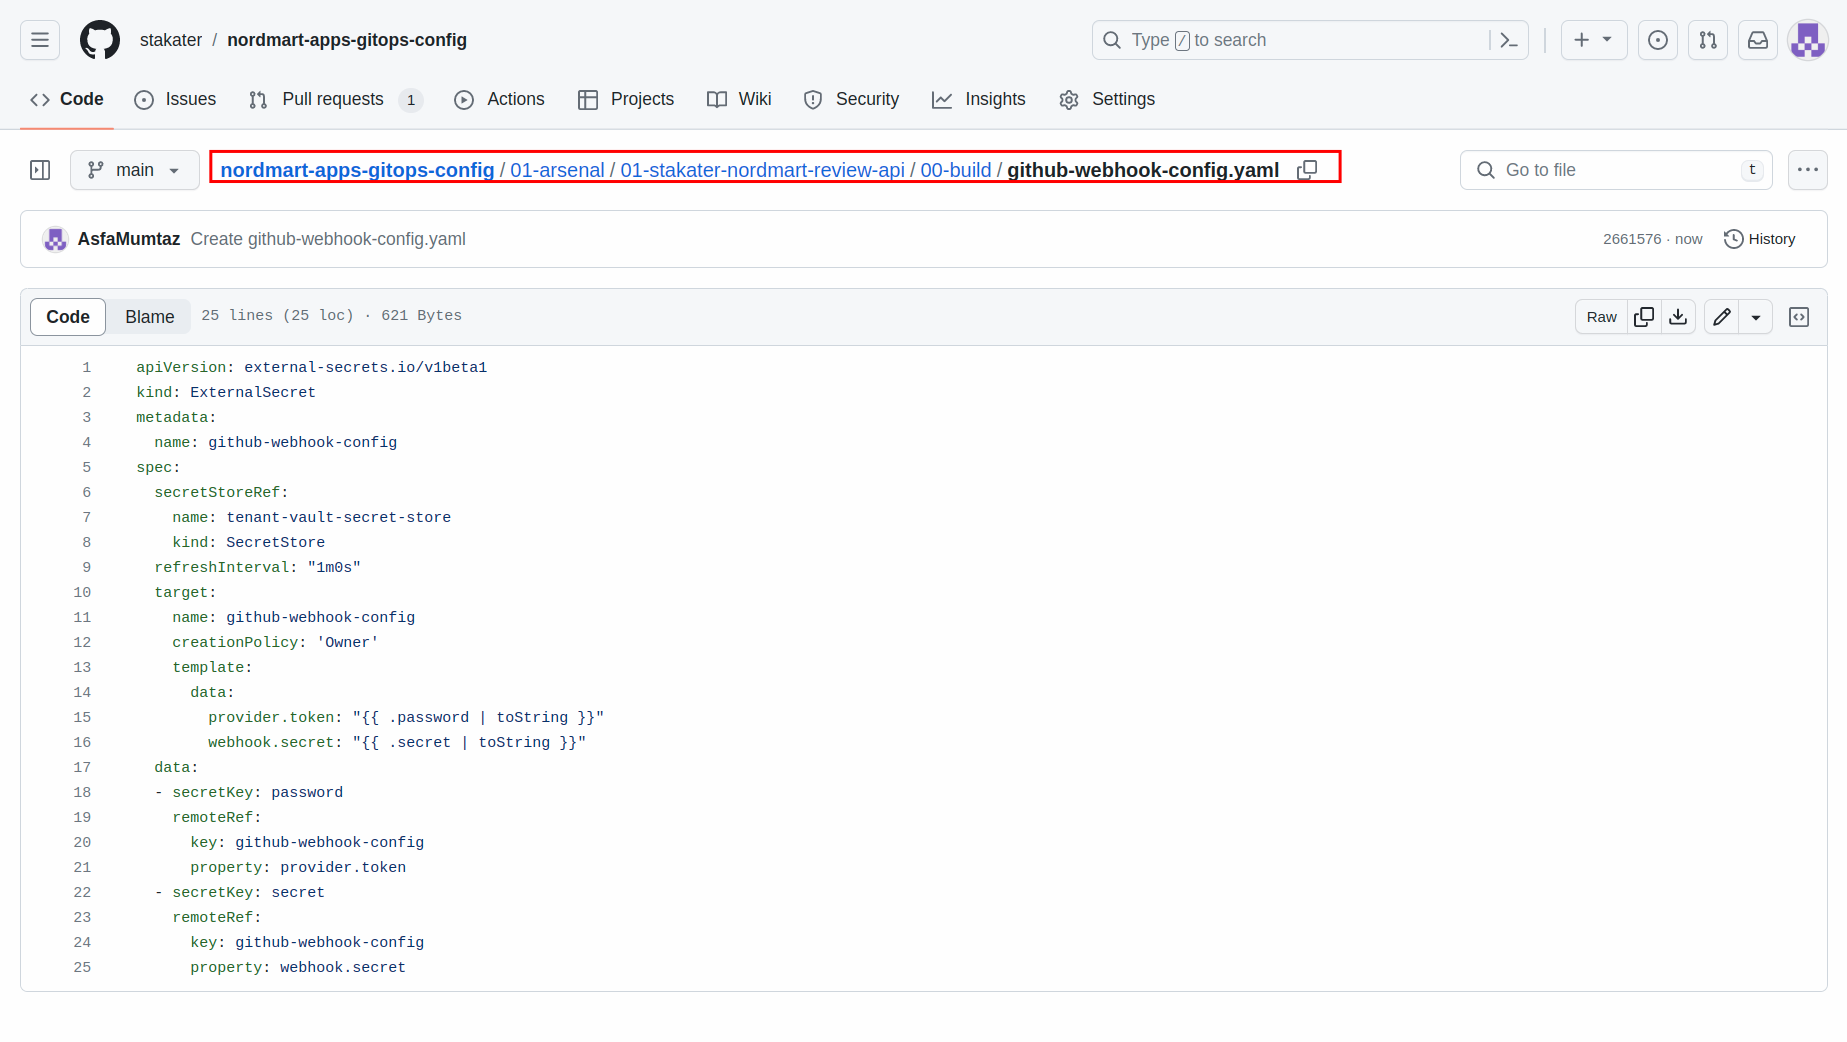
github-webhook-config.yamland add in the below content. Replace the URL with your application repository's URL.apiVersion: external-secrets.io/v1beta1 kind: ExternalSecret metadata: name: github-webhook-config spec: secretStoreRef: name: tenant-vault-secret-store kind: SecretStore refreshInterval: "1m0s" target: name: github-webhook-config creationPolicy: 'Owner' template: data: provider.token: "{{ .password | toString }}" webhook.secret: "{{ .secret | toString }}" data: - secretKey: password remoteRef: key: github-webhook-config property: provider.token - secretKey: secret remoteRef: key: github-webhook-config property: webhook.secret -
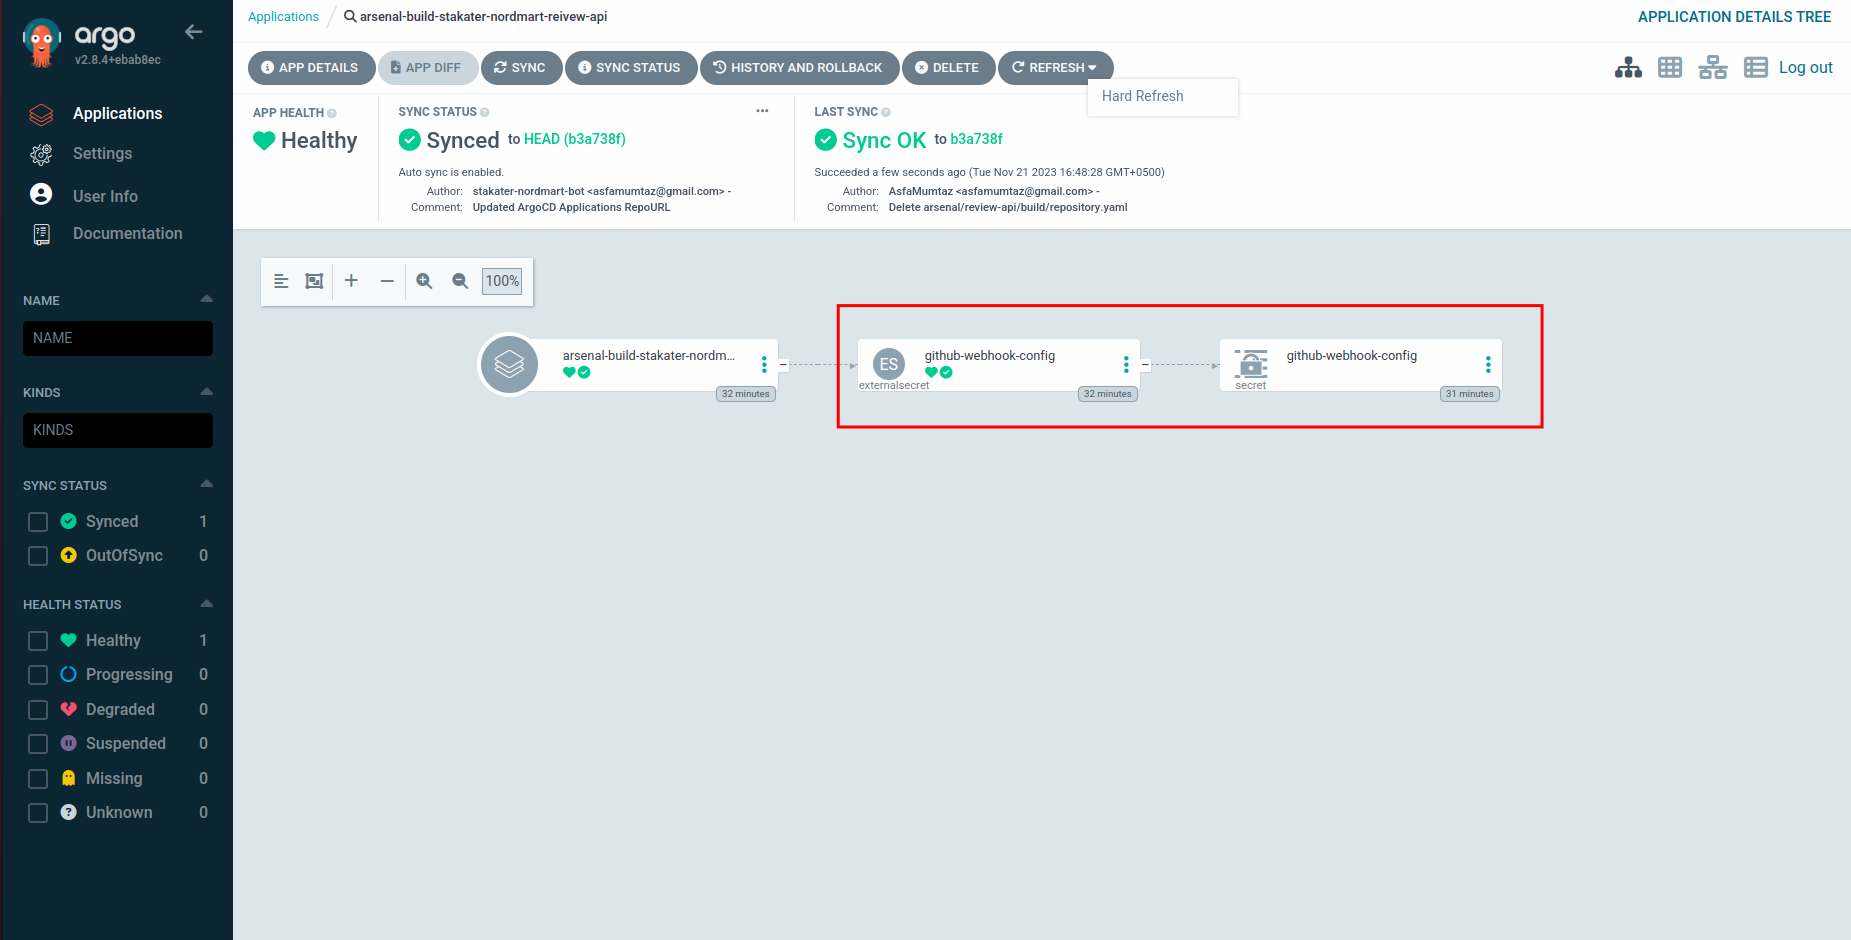
Now open up ArgoCD and look for this External Secret. If everything was added correctly, you will see a secret created from this External Secret.
-
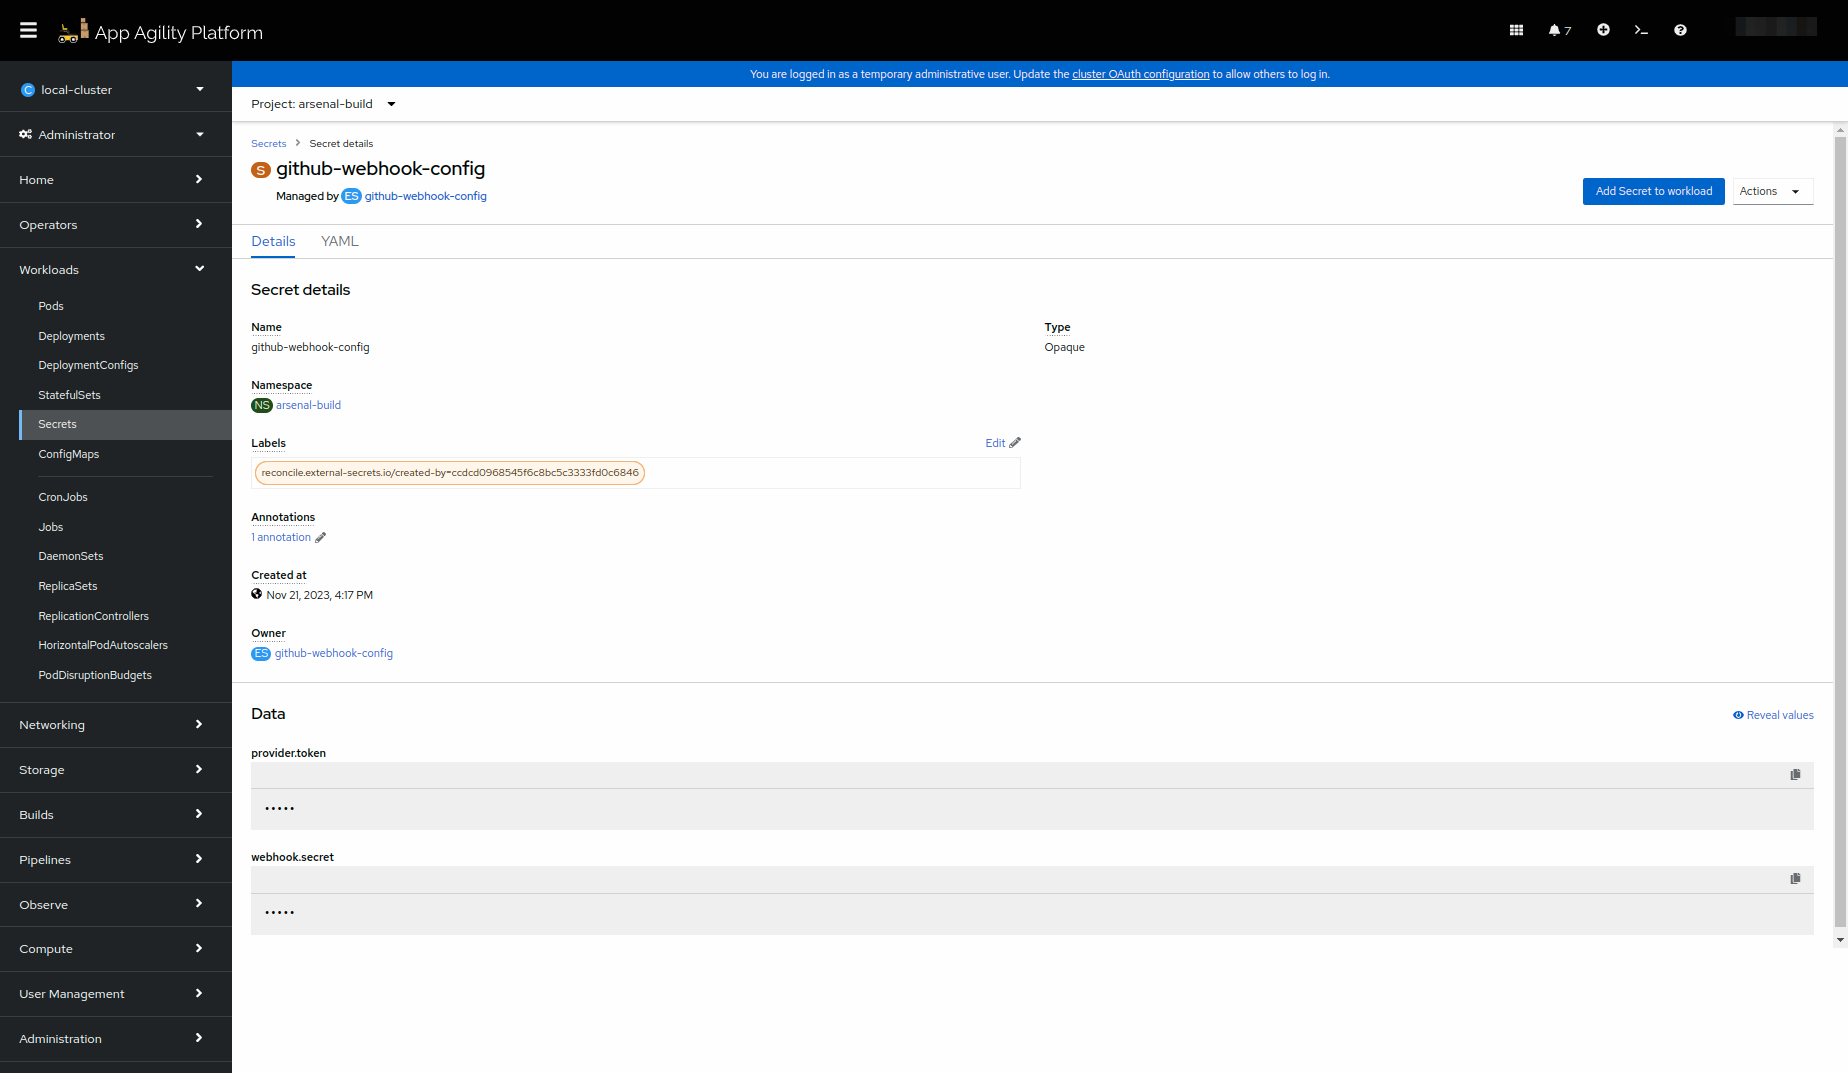
You can also check this secret by navigation to
<tenant>-buildnamespace and searching for the secret.
Great! We have everything set up for creating the Repository CR.


