Creating a Pipeline#
We will embark on a comprehensive journey through a complete pipeline, with each individual task covered in its tutorial. This approach aims to provide a detailed understanding of each task and how they collectively contribute to the functionality of pipeline-as-code.
In modern software development practices, pipelines play a crucial role in automating and streamlining the process of building, testing, and deploying applications. This tutorial will guide you through creating a pipeline using pipeline-as-code concepts. We'll focus on GitHub as the provider and assume you have a SAAP set up with pipeline-as-code capabilities.
Now that we have completed all the prerequisites to run this pipelineRun, we can continue by adding a pipeline to our application using pipeline-as-code approach.
Objectives#
- Create a Tekton PipelineRun using a
.tekton/pullrequest.yamlfile from a code repository. - Define parameters, workspaces, and tasks within the PipelineRun for building and deploying your application.
Key Results#
- Successfully create and execute the Tekton PipelineRun using the defined
.tekton/pullrequest.yamlfile, enabling automated CI/CD processes for your application.
Tutorial#
Create PipelineRun with Git Clone Task#
Let's walk you through creating a Tekton PipelineRun using a Pipeline-as-Code approach.
- Create a
.tektonfolder at the root of your repository. - Now add a file named
pullrequest.yamlin this folder and place the below given content in it. This file will represent aPipelineRun.
  apiVersion: tekton.dev/v1beta1
  kind: PipelineRun
  metadata:
    name: git-clone
    annotations:
      pipelinesascode.tekton.dev/on-event: "[pull_request]" # Trigger the pipelineRun on pull_request events on branch main
      pipelinesascode.tekton.dev/on-target-branch: "main"
      pipelinesascode.tekton.dev/task: "[git-clone]" # The tasks will be fetched from Tekton Hub. We can also provide direct links to yaml files
      pipelinesascode.tekton.dev/max-keep-runs: "2" # Only remain 2 latest pipelineRuns on SAAP
  spec:
    params:
      - name: repo_url
        value: "{{body.repository.ssh_url}}" # Place your repo SSH URL
      - name: git_revision
        value: "{{revision}}" # Dynamic variable to fetch branch name of the push event on your repo
      - name: repo_name
        value: "{{repo_name}}" # Dynamic varaible to fetch repo name
      - name: repo_path
        value: "review-api" # Dynamic varaible for app name
      - name: git_branch
        value: "{{source_branch}}"
      - name: pull_request_number
        value: "{{pull_request_number}}"
      - name: organization
        value: "{{body.organization.login}}"
    pipelineSpec: # Define what parameters will be used for pipeline
      params:
        - name: repo_url
        - name: git_revision
        - name: repo_name
        - name: repo_path
        - name: pull_request_number
        - name: organization
        - name: git_branch
      workspaces: # Mention what workspaces will be used by this pipeline to store data and used by data transferring between tasks
        - name: source
        - name: ssh-directory
      tasks: # Mention what tasks will be used by this pipeline
        - name: fetch-repository #Name what you want to call the task
          taskRef:
            name: git-clone # Name of tasks mentioned in tekton-catalog
            kind: ClusterTask
          workspaces: # Mention what workspaces will be used by this task
            - name: output
              workspace: source
            - name: ssh-directory
              workspace: ssh-directory
          params: # Parameters will be used by this task
            - name: depth
              value: "0"
            - name: url
              value: $(params.repo_url)
            - name: revision
              value: $(params.git_revision)
    workspaces: # Mention Workspaces configuration
      - name: source
        volumeClaimTemplate:
          spec:
            accessModes:
              - ReadWriteOnce
            resources:
              requests:
                storage: 2Gi
      - name: ssh-directory # Using ssh-directory workspace for our task to have better security
        secret:
          secretName: git-ssh-creds # Created this secret earlier
      - name: repo-token
        secret:
          secretName: git-pat-creds
-
Provide values for
image_registry, andhelm_registryparameters. You can find the URLs from here.image_registryURL should be succeeded by your application name. Example:nexus-docker-stakater-nexus.apps.lab.kubeapp.cloud/review-api -
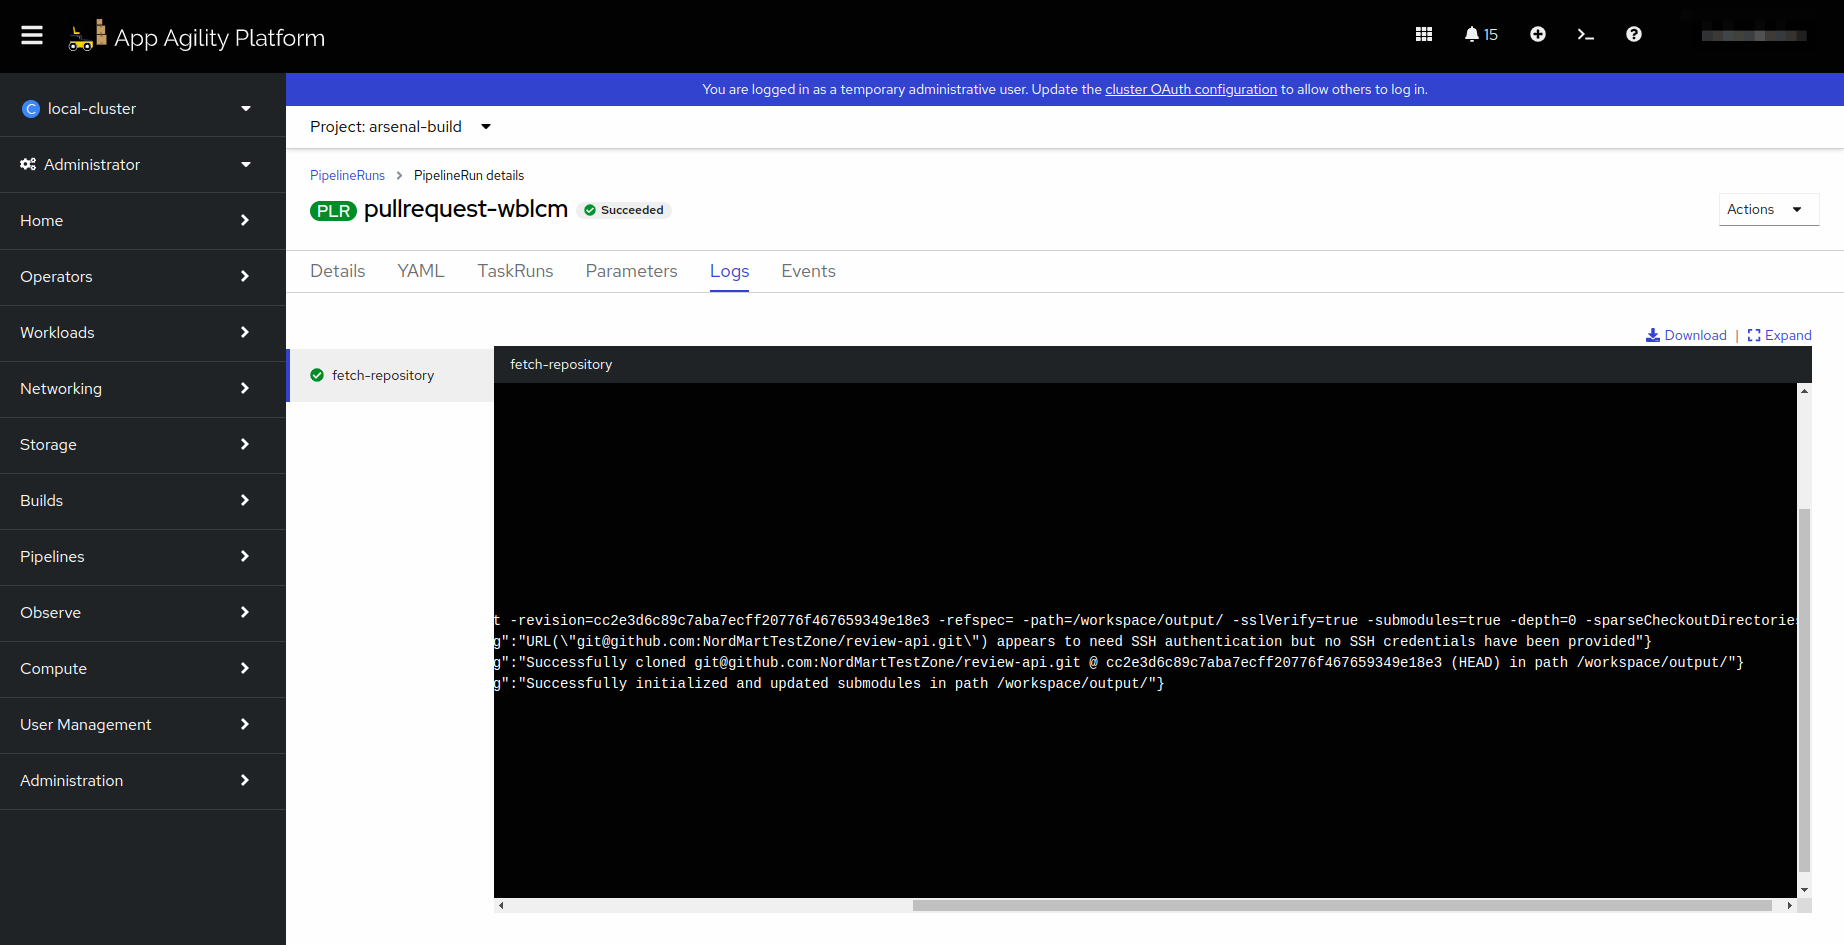
Now create a pull request on the repository with these changes. This should trigger a pipeline on your cluster.
-
You can go to your tenant's build namespace and see the pipeline running.
Exploring the Git Clone Task#
The Git Clone task serves as the initial step in your pipeline, responsible for fetching the source code repository. Let's break down the key components:
-
name: fetch-repository: This names the task, making it identifiable within the pipeline. -
Task Reference (
taskRef): The Git Clone task is referred to using the name git-clone, which corresponds to a Task defined in the Tekton Catalog. This task knows how to clone a Git repository. -
Workspaces (
workspaces): The task interacts with two workspaces;outputandssh-directory. Theoutputworkspace will store the cloned repository, while thessh-directoryworkspace provides SSH authentication. This means that the private key stored in the secretnordmart-ssh-credswill be utilized during the cloning process. -
Parameters
(params):
depth: Specifies the depth of the Git clone. A value of "0" indicates a full clone.
url: The URL of the source code repository. This parameter is dynamically fetched from the repo_url parameter defined in the PipelineRun.
revision: The Git revision to fetch, often corresponding to a specific branch or commit. This parameter is also dynamically fetched from the git_revision parameter in the PipelineRun.
Great! Let's add more tasks in our pipelineRun in coming tutorials.

