Configure Probes for your Application#
SAAP provides robust mechanisms for managing the health and availability of container applications. Liveness, readiness, and startup probes are essential features that help ensure application reliability and stability.
In this tutorial, we will explore how to leverage the capabilities of SAAP to define different probes using the values.yaml file.
Objective#
- Configure your application's liveness, readiness, and startup probes with their parameters.
Key Results#
- Configure probe settings to effectively monitor application health and readiness.
Tutorial#
Probes Error#
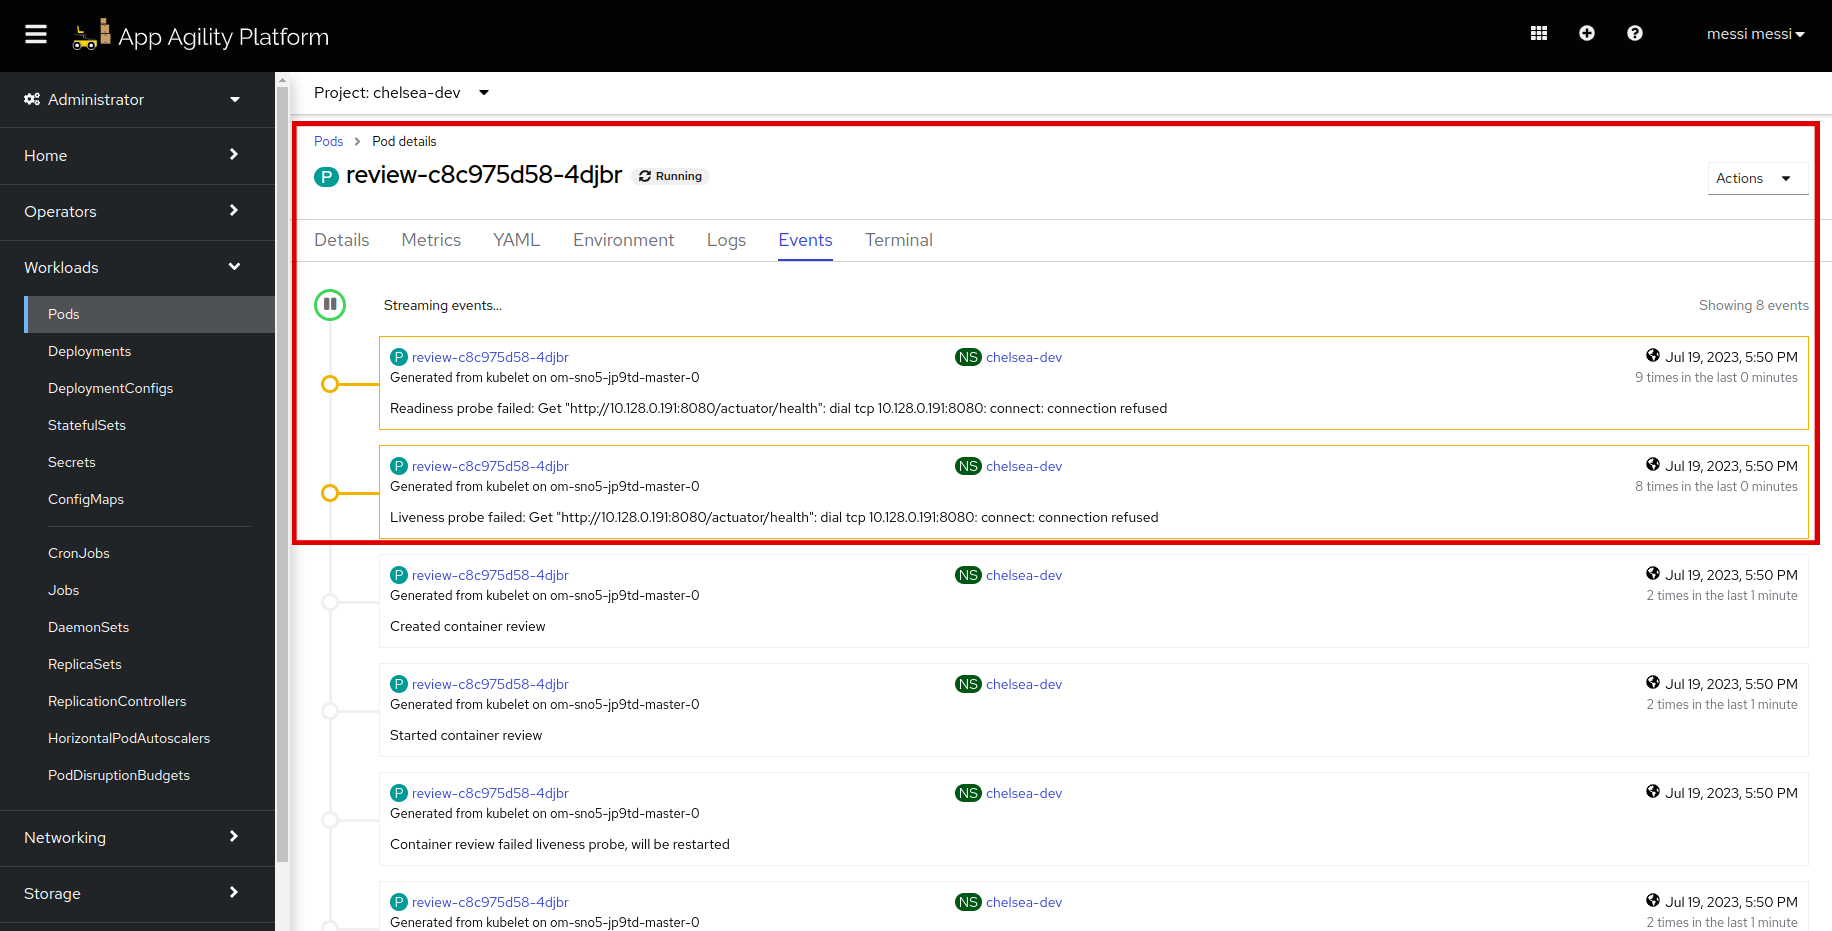
When Deploying Stakater Nordmart Review API application, you might see this error in your application pods.
The pod status shows CrashLoopBackOff. Let's see pod's events for more detailed logs:
Because of the liveness and readiness probes got failed, the pods are not in running state.
So, to deploy your application smoothly you need to configure probes.
-
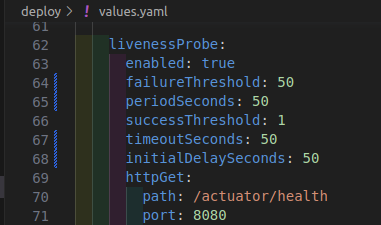
To add a liveness probe in your application, you need to define it in your
deploy/values.yaml. Liveness probes continuously monitor the health of containers and automatically restart any instances that fail the health check.# Liveness Probe Configuration livenessProbe: # Enable liveness probe for the container enabled: true # Number of consecutive failures to consider the container as unhealthy failureThreshold: 50 # Interval at which the liveness probe will be performed periodSeconds: 50 # Number of consecutive successes required to consider the container as healthy again successThreshold: 1 # Maximum time the probe can take before it is considered failed timeoutSeconds: 50 # Initial delay before the first liveness probe is performed initialDelaySeconds: 50 # http GET request used for the liveness probe httpGet: # Path for the health check endpoint path: /actuator/health # Port number where the health check endpoint is exposed port: 8080Note
Indentation should be followed as: application.deployment.livenessProbe.
It should look like this:
Note
You can configure the parameters of the probe per your application's requirement. To know more about liveness probes, visit here.
-
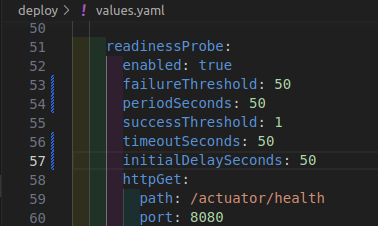
To add a readiness probe in your application, you need to define it in your
deploy/values.yaml. Readiness probes determine if a container is ready to serve traffic and delay routing until the container is ready.# Readiness Probe Configuration readinessProbe: # Enable readiness probe for the container enabled: true # Number of consecutive failures to consider the container as not ready failureThreshold: 50 # Interval at which the readiness probe will be performed periodSeconds: 50 # Number of consecutive successes required to consider the container as ready successThreshold: 1 # Maximum time the probe can take before it is considered failed timeoutSeconds: 50 # Initial delay before the first readiness probe is performed initialDelaySeconds: 50 # http GET request used for the readiness probe httpGet: # Path for the health check endpoint path: /actuator/health # Port number where the health check endpoint is exposed port: 8080Note
Indentation should be followed as: application.deployment.readinessProbe.
It should look like this:
Note
You can configure the parameters of the probe as per your application's requirement. To know more about readiness probes, visit here.
-
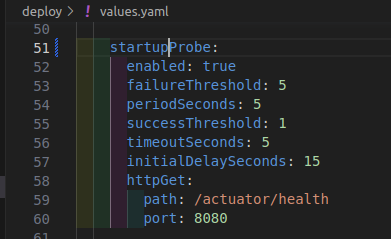
To add startup probe in your application, you need to define it in your
deploy/values.yaml. Startup probe is specifically designed to check if an application has completed its initialization and is fully ready to serve traffic.# Startup Probe Configuration startupProbe: # Enable the startup probe for the container enabled: true # Number of consecutive failures to consider the startup as unsuccessful failureThreshold: 5 # Interval at which the startup probe will be performed periodSeconds: 5 # Number of consecutive successes required to consider the startup as successful successThreshold: 1 # Timeout for the startup probe timeoutSeconds: 5 # Delay before the first startup probe is performed initialDelaySeconds: 5 # http GET request used for the startup probe httpGet: # Path for the startup check endpoint path: /actuator/health # Port number where the startup check endpoint is exposed port: 8080Note
Indentation should be followed as: application.deployment.startupProbe.
It should look like this:
Note
You can configure the parameters of the probe as per your application's requirement. To know more about startup probes, visit here.
-
Save the
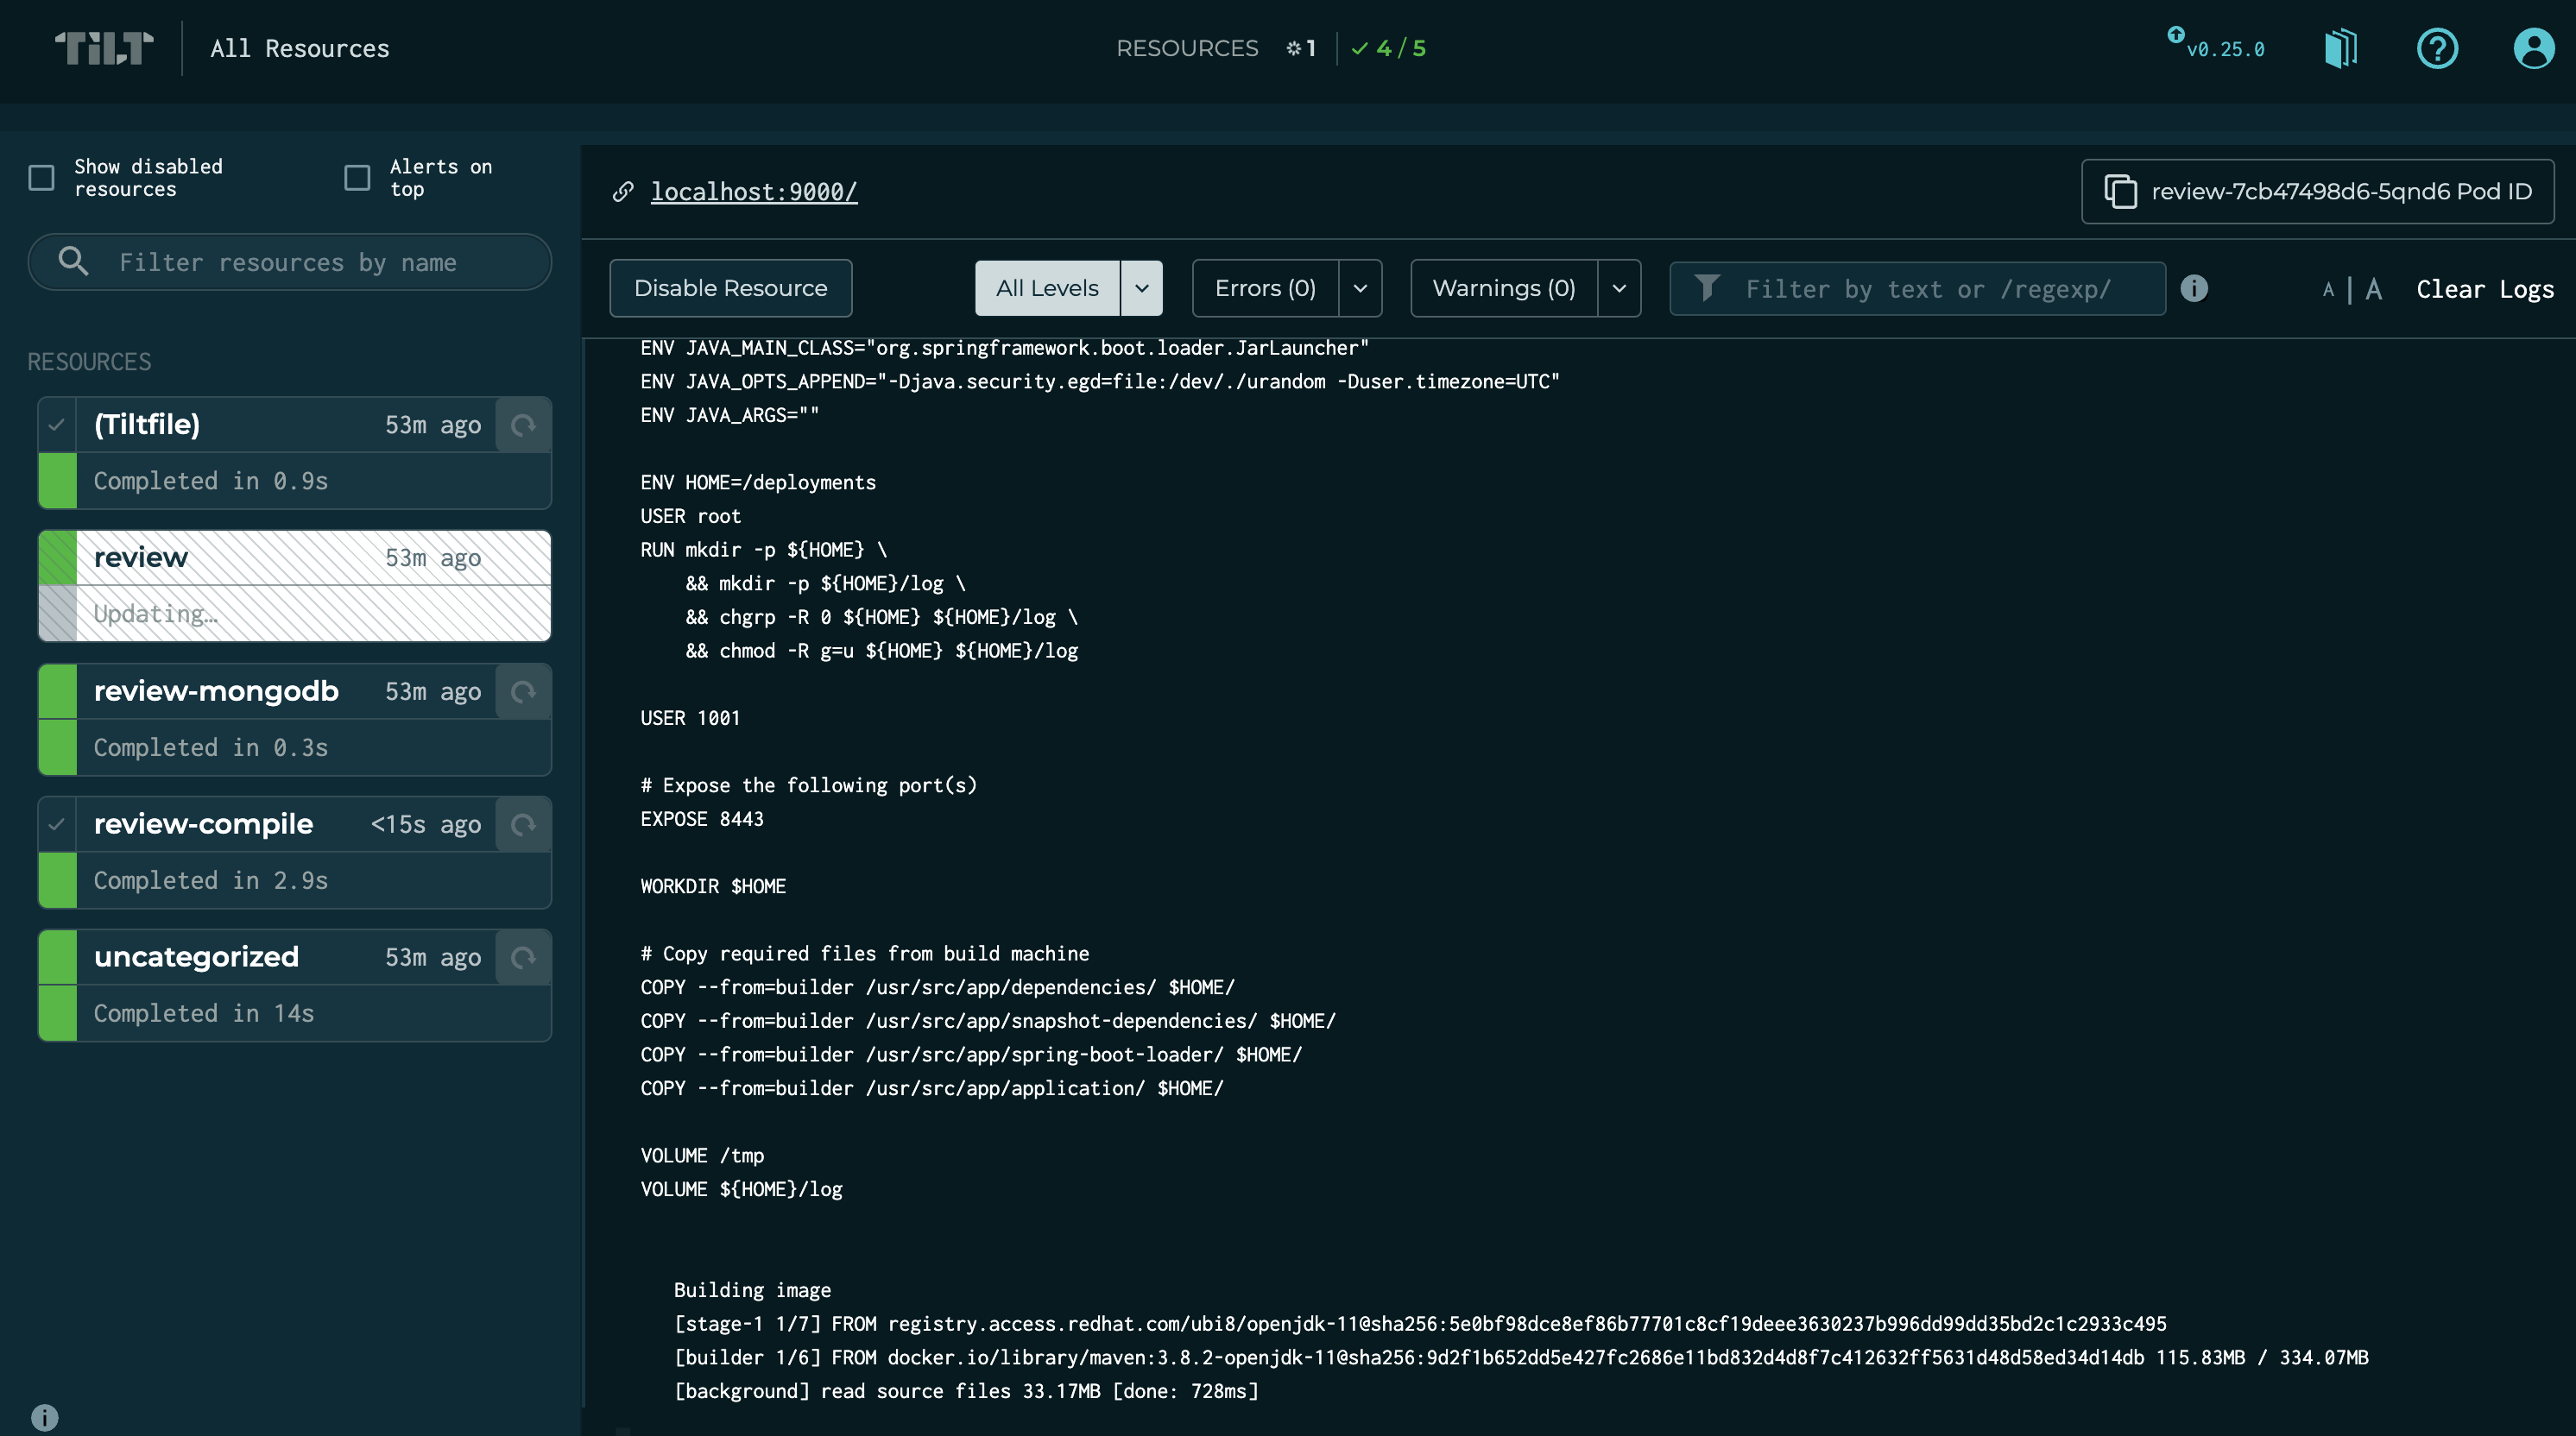
values.yamland runtilt upat the root of your directory. Press the space key to view the progress in Tilt web UI. The application should be running in the namespace used intilt_options.jsonfile. -
In your Tiltfile, there is a port forwarding command written on line #60, this command will forward the port of the application to your local machine. To see the output of the deployment:
Review the JSON output on browser:
-
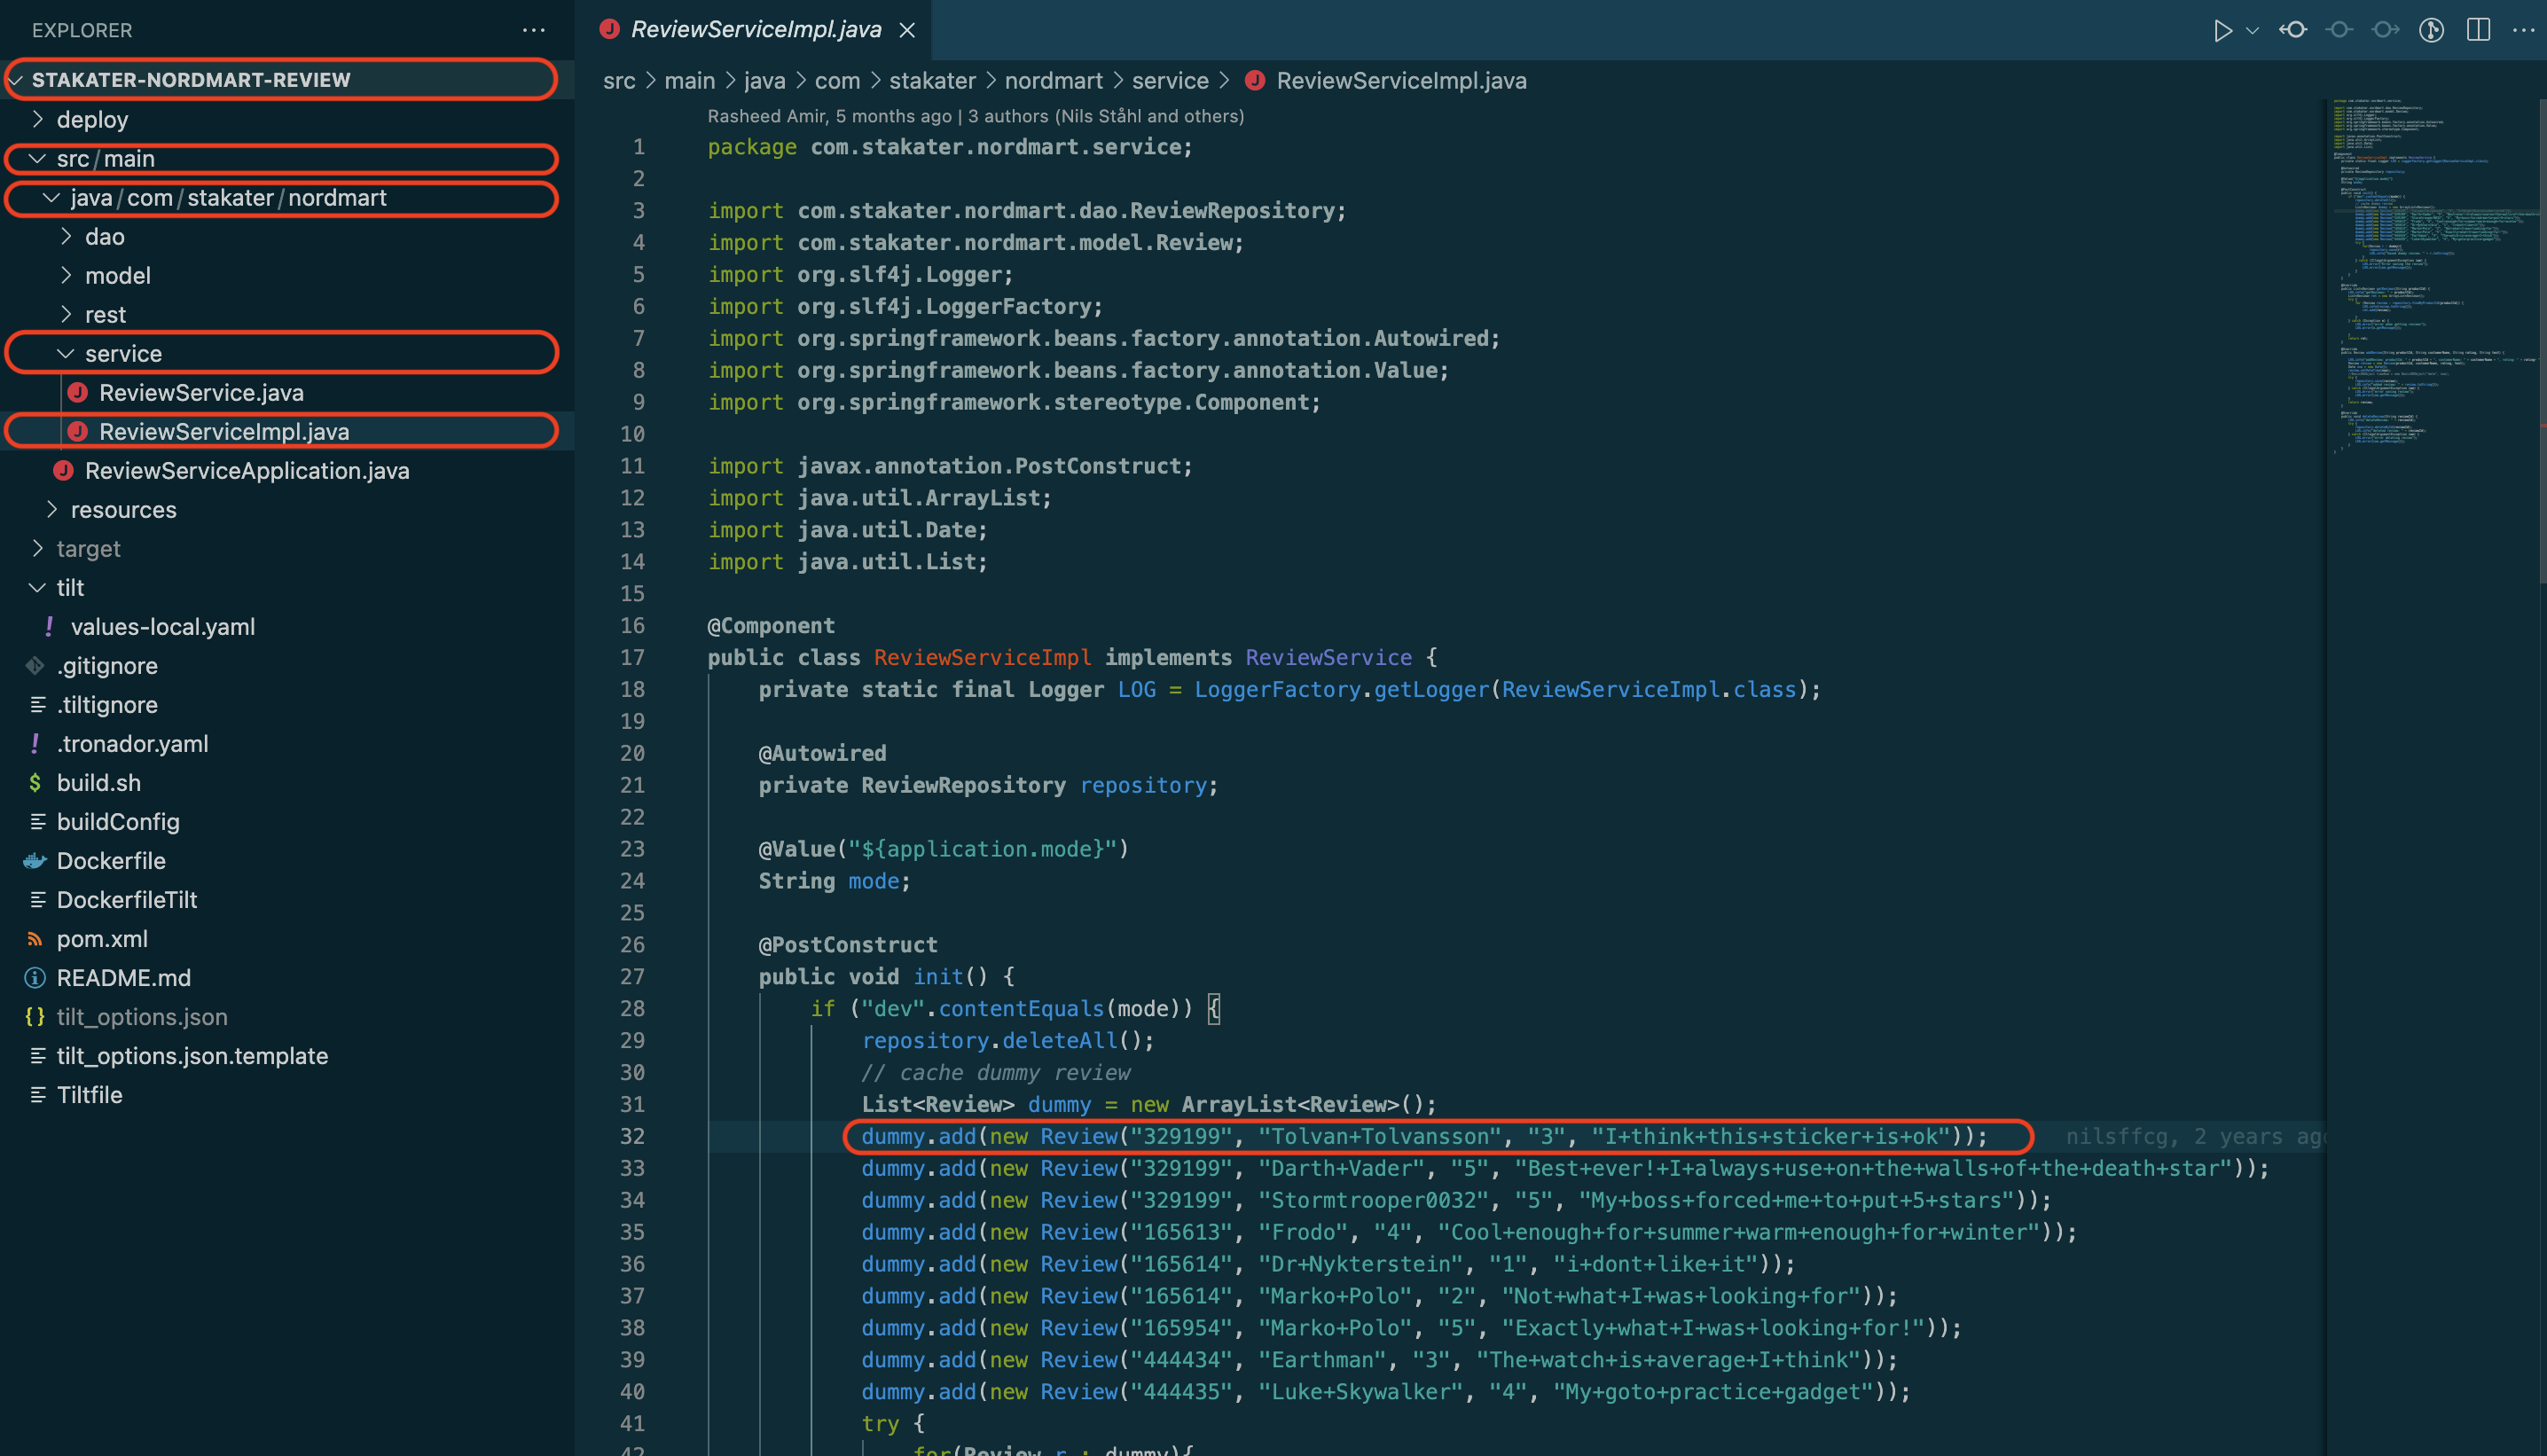
let's make one change; we will update the first review text to "Tilt Demo"
Switch back to the tilt browser, you will see it has started picking up changes
Within a few seconds, the change will be deployed, and you can refresh the route to see the change
Awesome! you made it
-
Run
tilt downto delete the application and related configuration from the namespace.
Good Job! Let's move on to next tutorial, where we'll see how we can persist data of our application.

